Show Love Anytime
Flowers are one of the more classic ways to show love. Whether you are single or in a relationship, sometimes it’s nice to show love to someone (even yourself) with flowers. Through this DIY, you can show love to yourself, a significant other and even to the environment, as we repurpose many of the the materials in this project.

Materials Needed:
Stiff Paper
Wire
Wire cutters
Ribbon
Hot glue gun
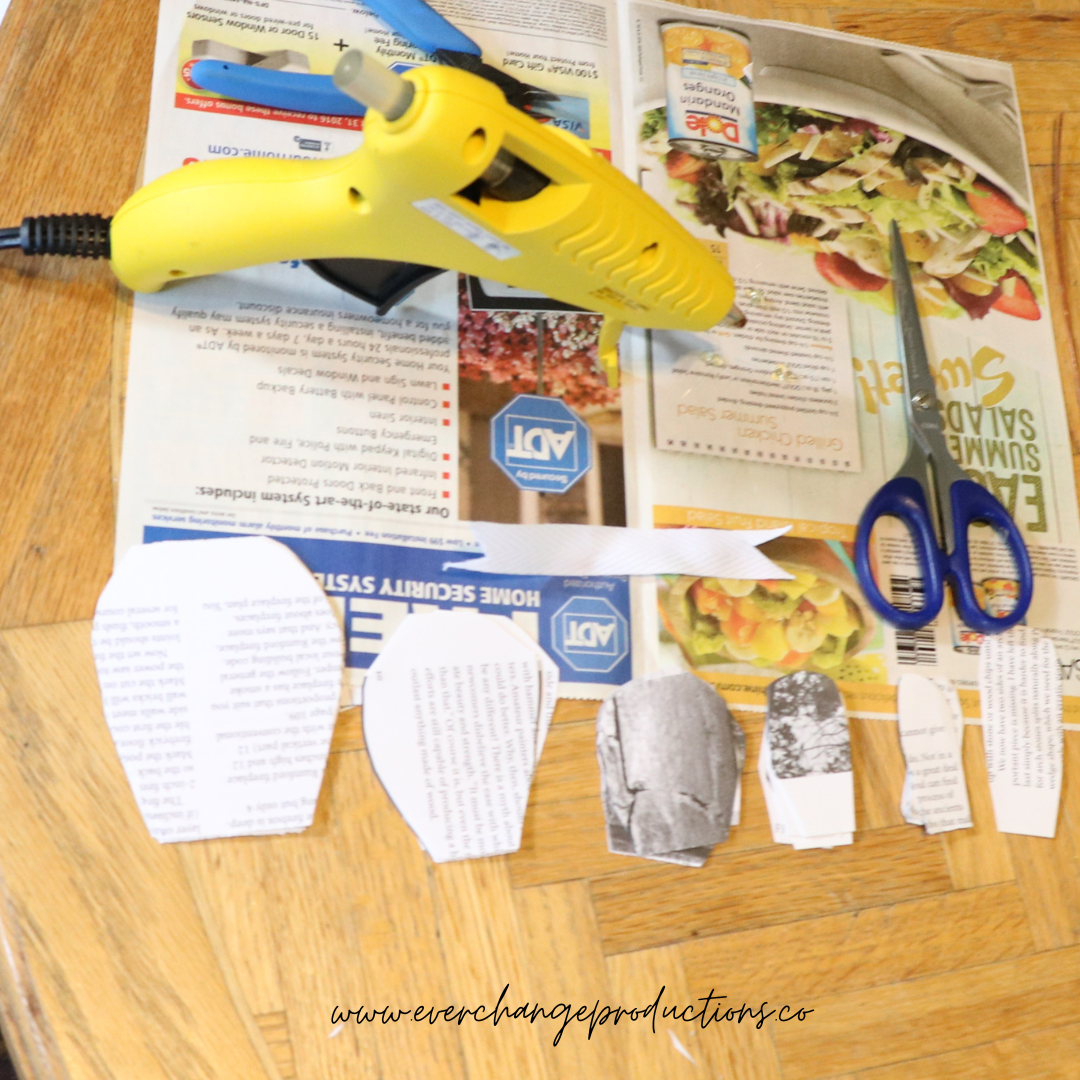
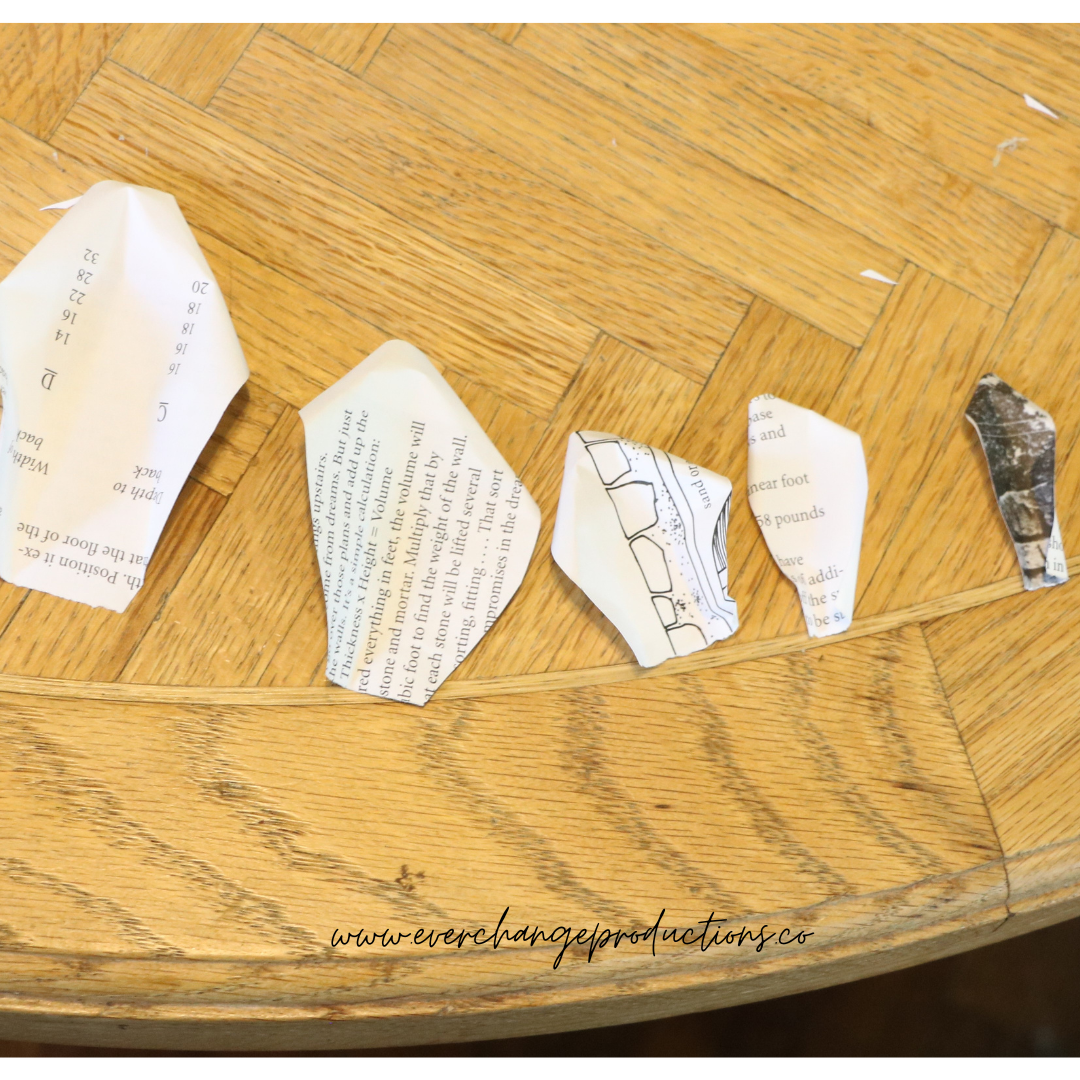
Step 1: Cut
Cut five sizes of petal ranging from 3/4 inch wide to 3 inches wide. Also, for each flower cut a 2 1/2 inch long petal with a rounded tip for the coiled center of the rose. I recommend cutting freehand, so each petal has its own shape. Cut these petals with an arch. You’ll need at least four petals for each size.
Step 2: Roll
Using the wire, toothpick or some other thin, rounded device to roll the edges of each petal. Pinch the base slightly. Each one can be done a little differently to give the petals character and roundness.
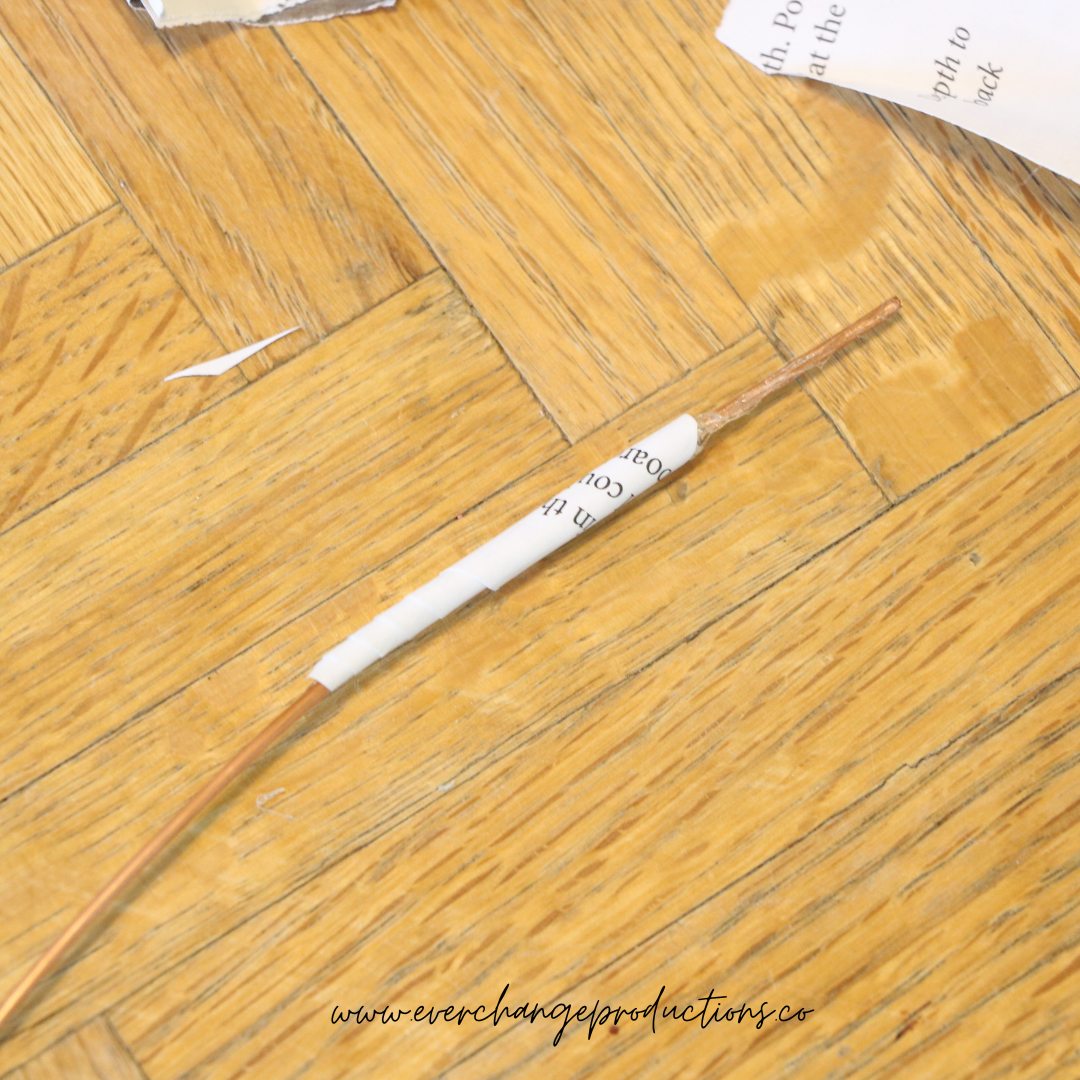
Step 3: Start with the Center
Start with the 2 1/2 inch rounded petal. Roll it up into a tube to create its basic shape. Unroll it and run a bead of hot glue along the inside and re-roll it around the end of your wire. Another dot of glue will hold it in place.
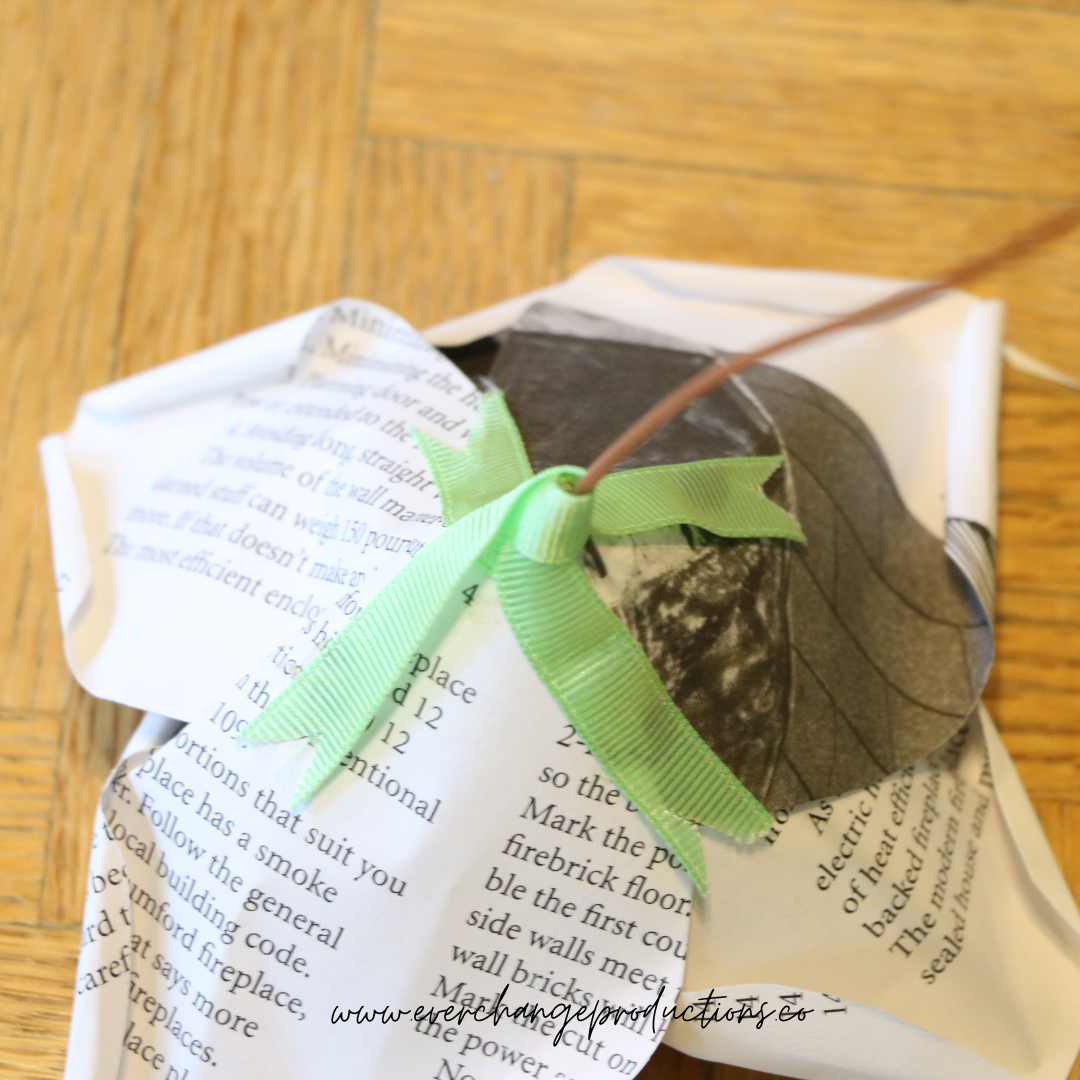
Step 4: Attach the Petals
Start attaching the smallest petals. Use a single dot of glue, about ¼ inch from the bottom of the petal to attach it to the stem. Continue adding the small petals, rotating the stem as you go, always slightly overlapping the last petal you attached. As you begin adding larger petals pinch the bases, rounding out the rose, and creating space between layers.
Step 5: Finish
Cover your final seams and create a nice polished look with a piece of ribbon. Cut two – 4 inch lengths of ribbon for each flower. Wrap them around the stem and secure to the undersides of the petals. Cut a ‘V’ into each end of the ribbons to finish.
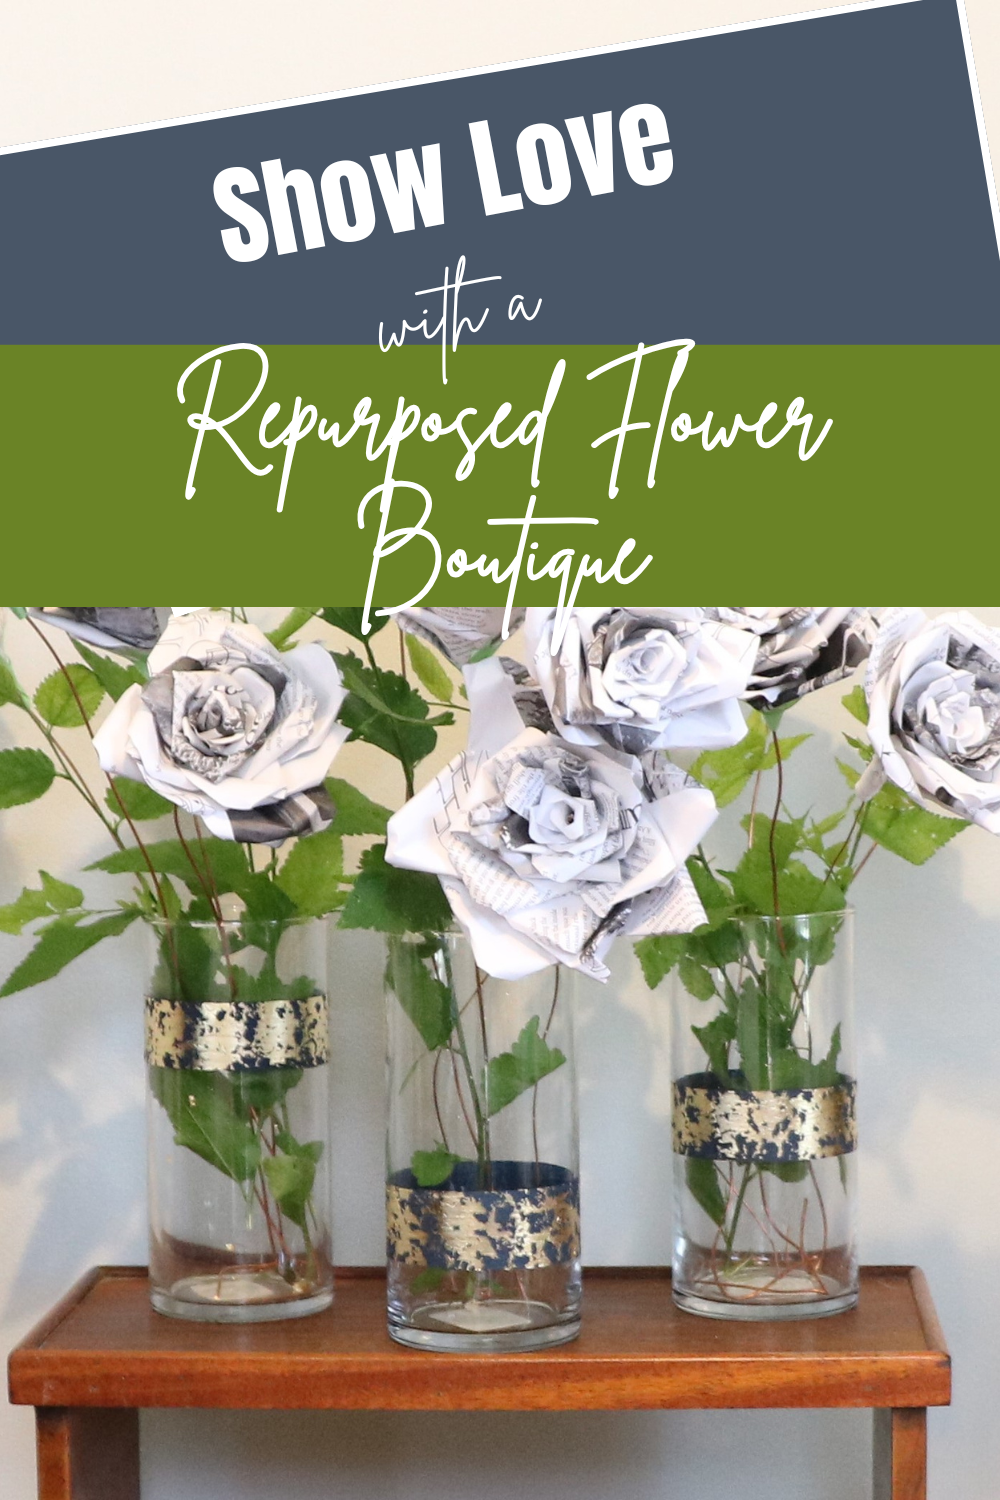
Repurposed Vase
So we made our repurposed flowers and then realized we needed something to put them in. We got a couple of glasses from the thrift store to complete our Valentine’s display.
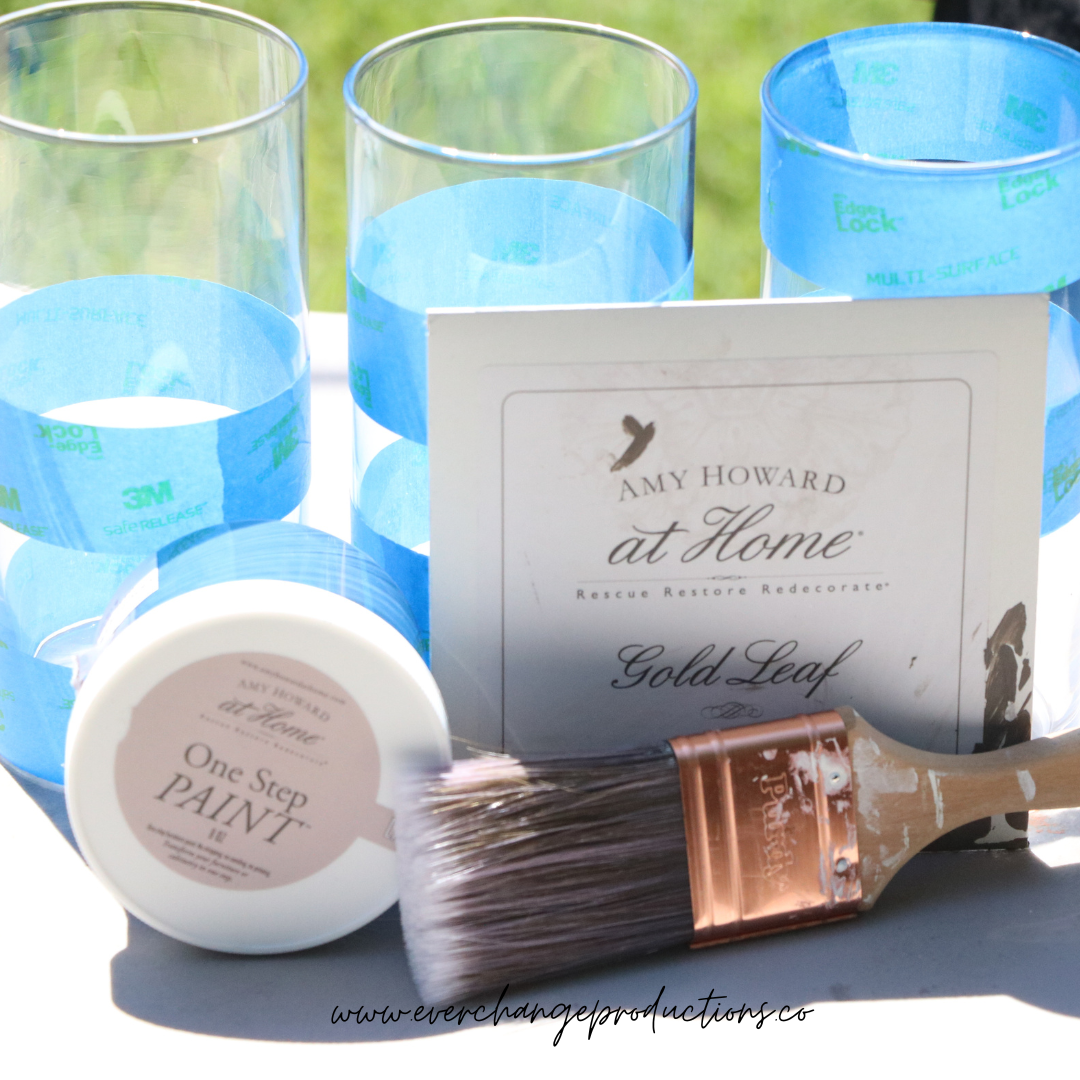
Materials Needed:
Glasses
Cleaning Solution (Clean Slate or Simply Green)
One-Step Paint
Brush
Gilding Size
Imitation Gold Leaf
Step 1: Clean
Wipe the dirt and grime from the glasses using Amy Howard’s Clean Slate. If you don’t have that on hand, use properly diluted Simply Green and then wipe with a wet rag to remove any remaining surfactants.
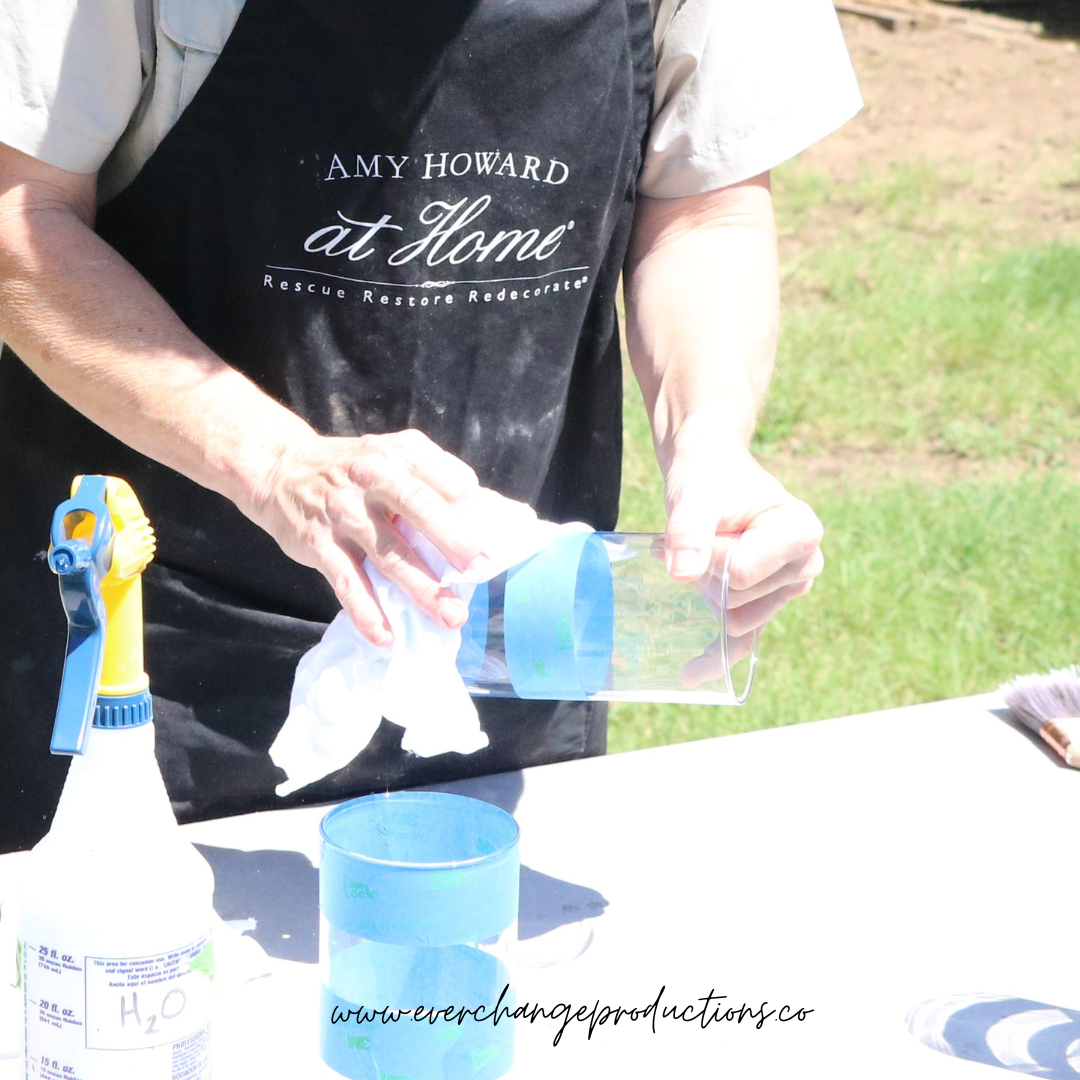
Step 2: Tape
Using the painters tape, tape whatever kind of design you would like on to the glass. We went with a simple stripe at varying levels.
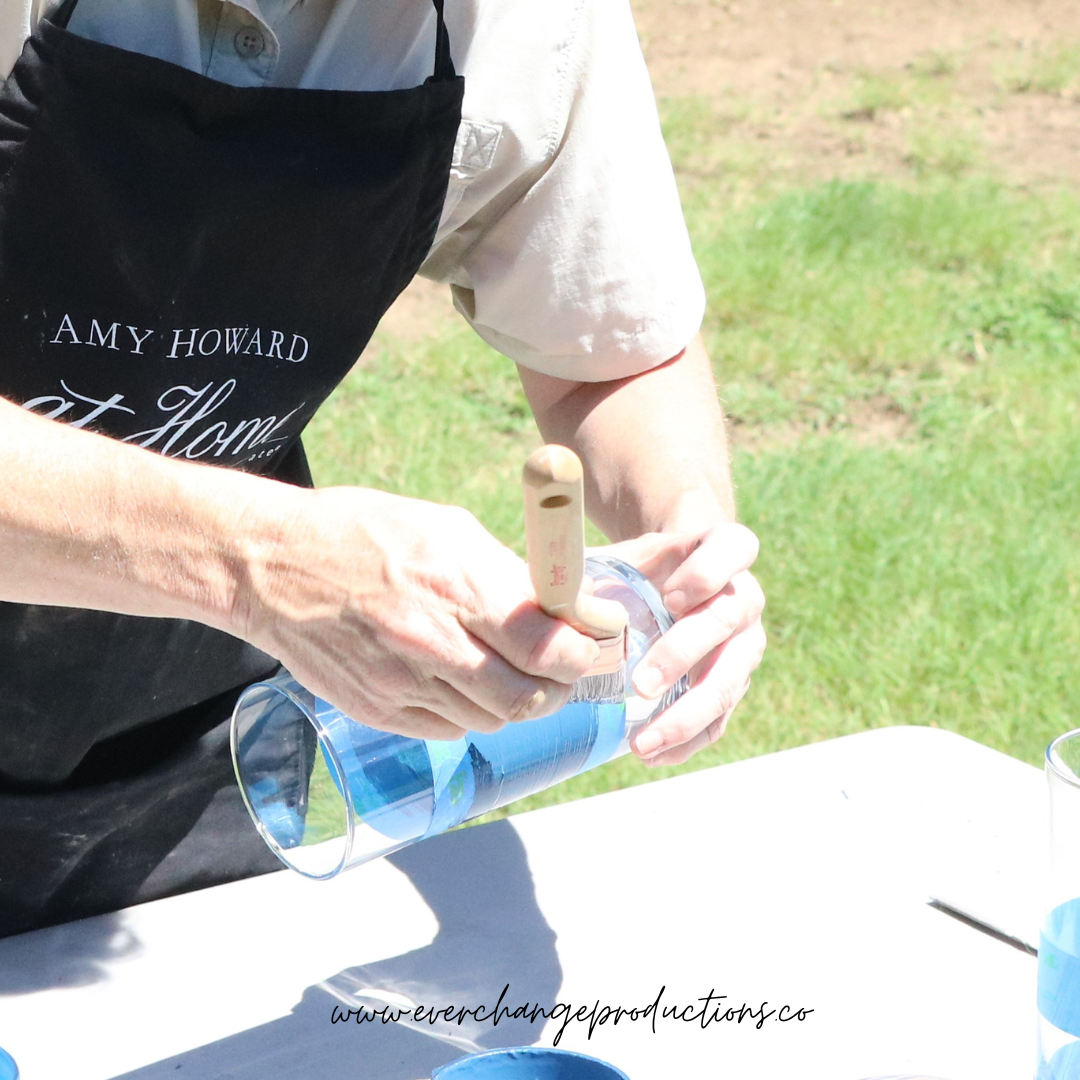
Step 3: Paint
Using Amy Howard One-Step Paint, you can add color to your piece. We’ve found that if you paint down from the tape line, as opposed to up, you’ll get that clean line.
Step 4: Add Gold leaf
We used Gold leaf, but there are silver options.
Once your One-Step paint has dried, it’s time to add the finishing touch. Take the gilding size and cover the area you’d like to finish. Once the gilding size is dry lay down your gold leaf. If the size is still wet it will not dry under the leaf and the leaf will come off. It doesn’t have to be perfect because you’ll brush off any imperfections. Lay down as many leaves as you need to cover the design area.
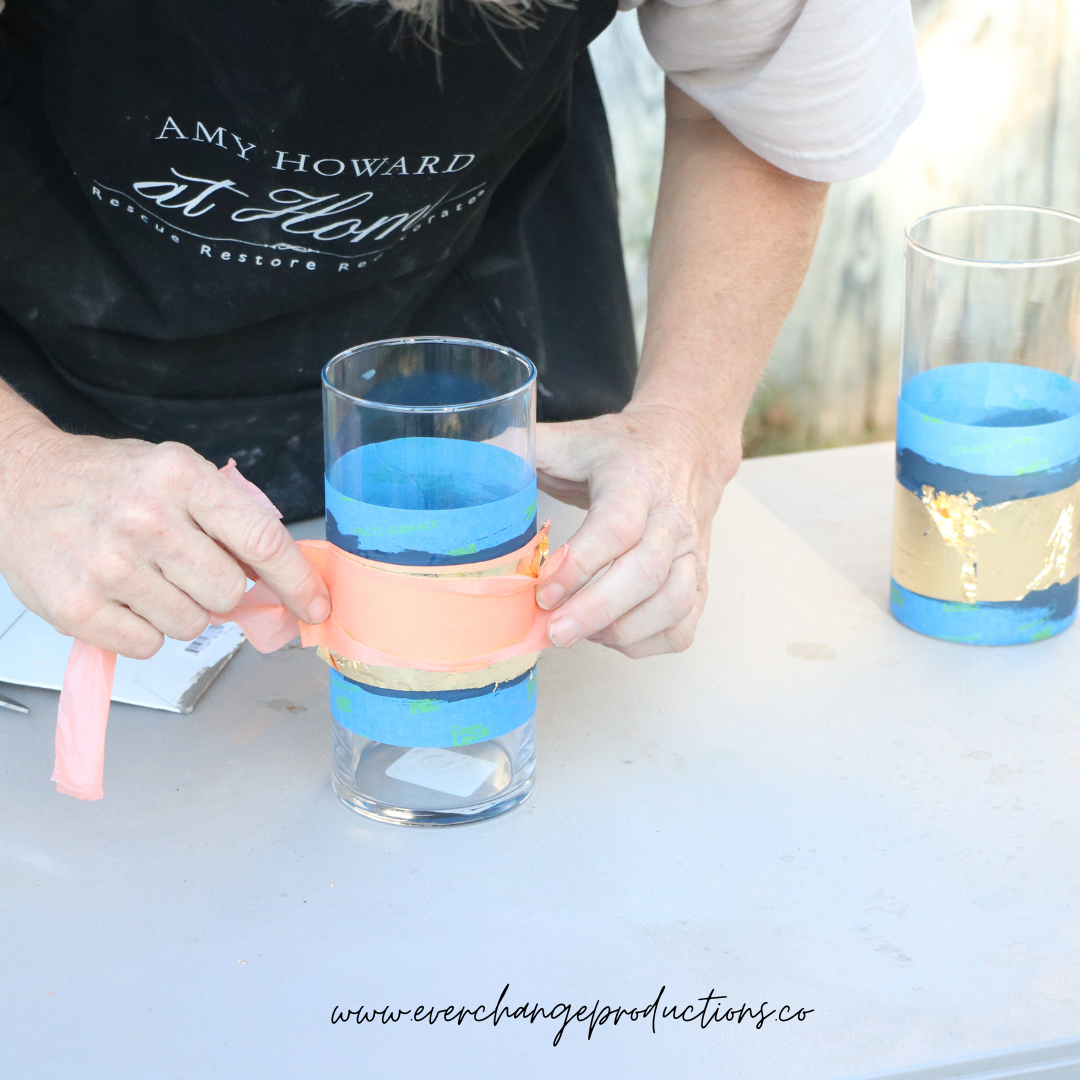
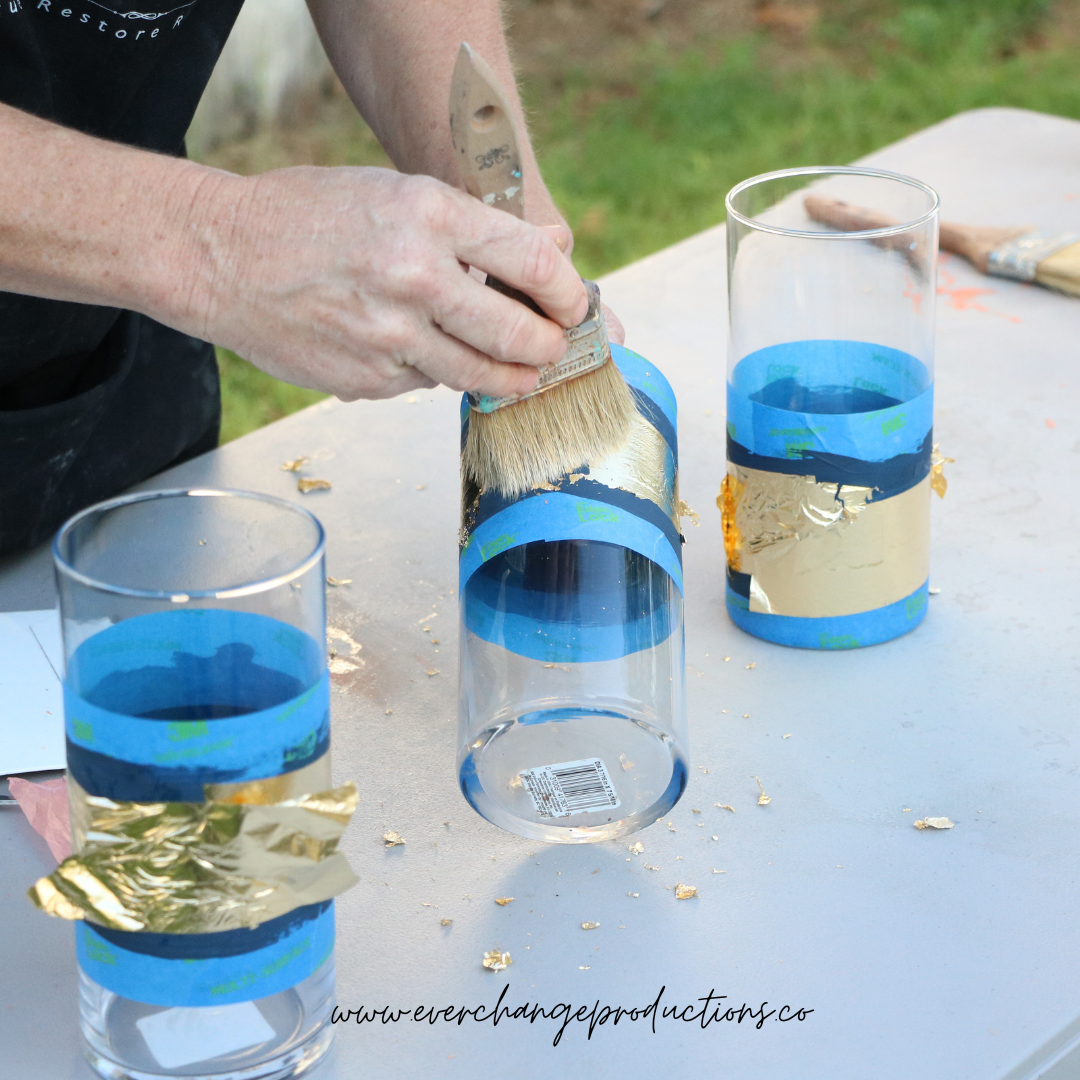
Step 5: Brush
Once the gold leaf is laid out, swiftly move the brush back and forth in a crisscross pattern and remove any extra, unattached gold leaf.
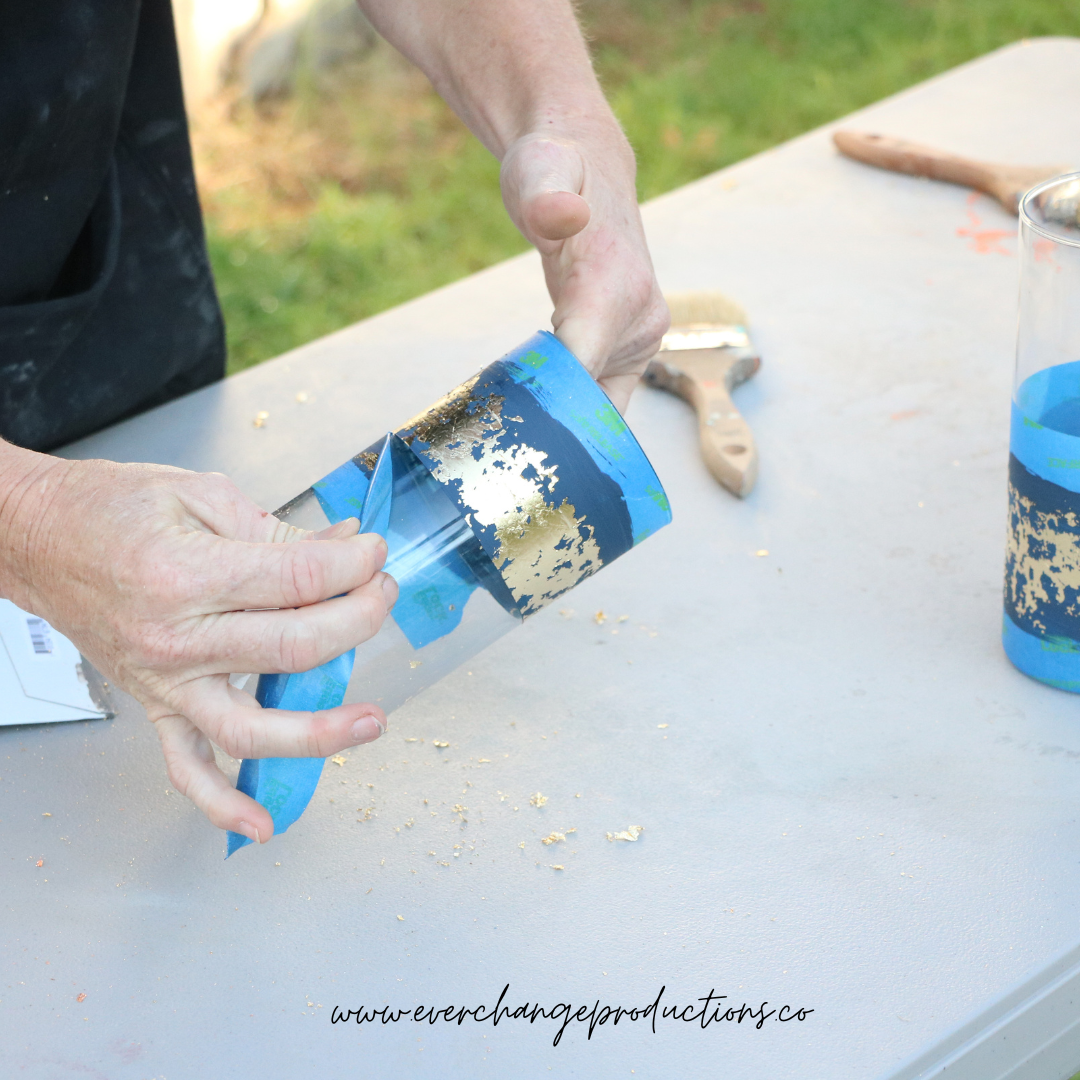
Step 6: Peel and Enjoy!
Once your pleased with the look of your vase, peel off the tape and enjoy your free gift to yourself or your significant other! This vase will be hand wash only.
And there you have it. These repurposed flowers and vase will show you love all year long!
Don’t forget to save this pin for later!
This is such a great idea. I love it!