Welcome!
Welcome to Curbside Overhaul! This is our first tutorial and we are so excited to share with you a simple way to restore purpose and breathe life into this old retro office chair.
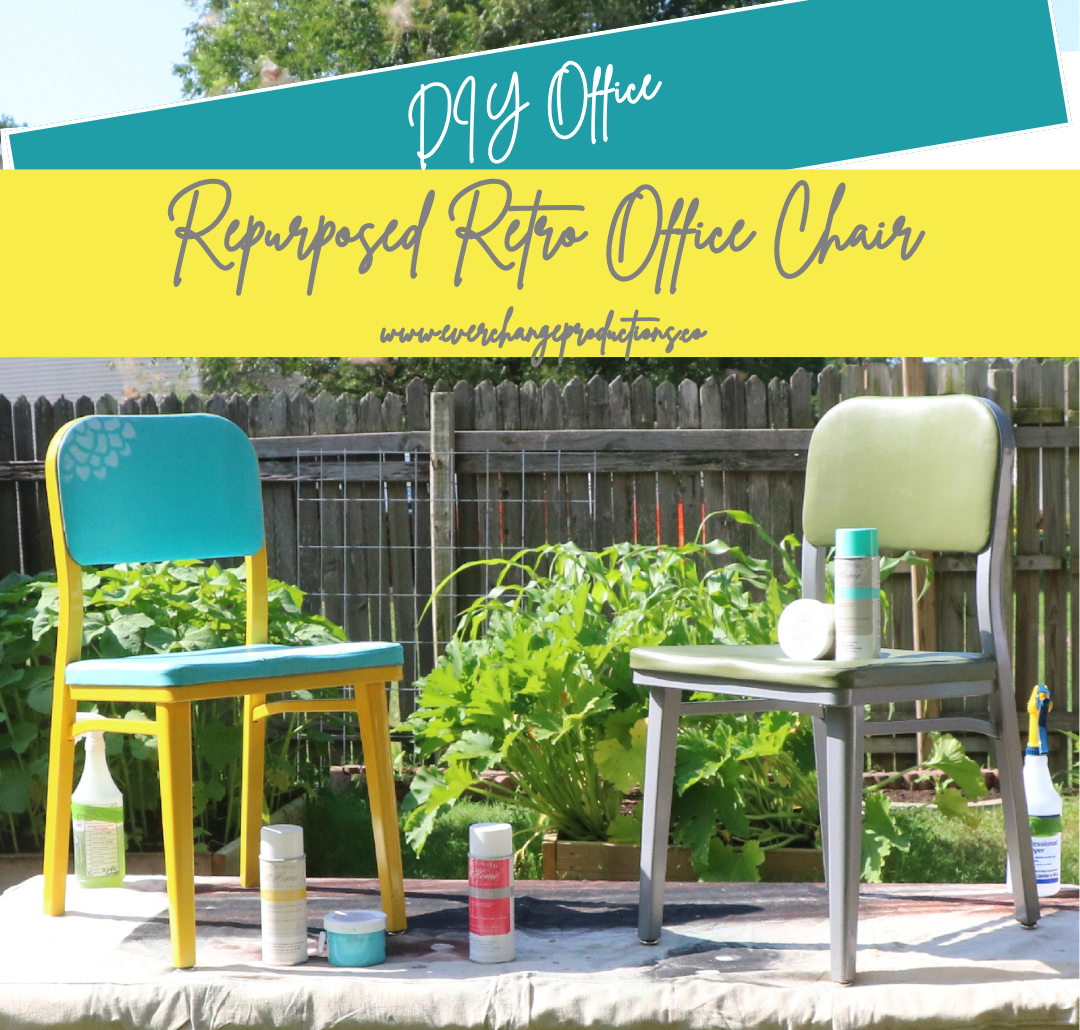
A family friend gave us this chair and it had a very unappealing green cover. But we knew that with a bit of paint, it could find a new life as a cute little office chair.
Supplies Needed:
Simple Green Cleaning Solution
A retro office chair (or something made of similar materials)
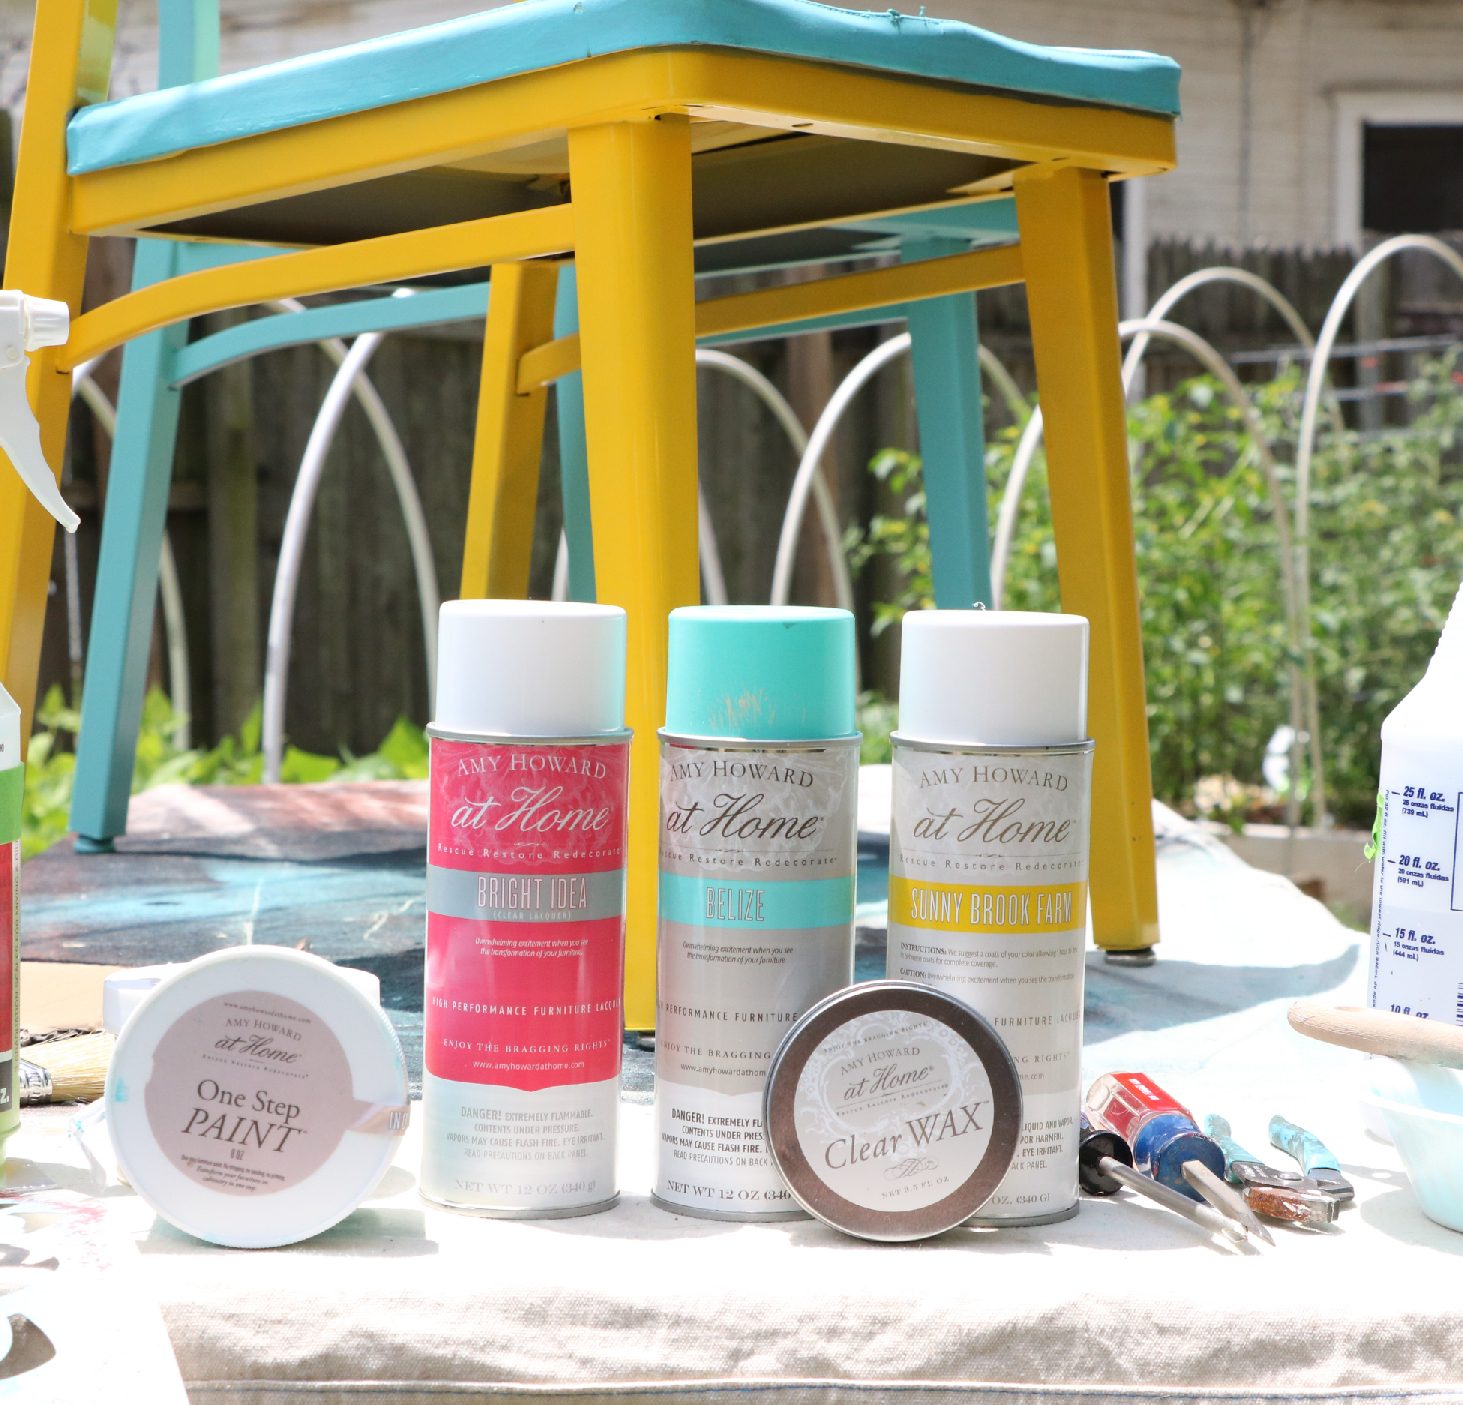
Amy Howard Spray Lacquer: Belize
Amy Howard Spray Lacquer: Sunny Brook Farm (this color is no longer available, but here is a link to alternative colors)
Amy Howard Spray Lacquer: Bright Idea
Amy Howard Chalk Based Paint: Indian Summer
Amy Howard Clear Wax
Step 1: Take off the cushions
On the back of the office chair you will see two little screws on the top of the back cushion. Simply remove them the screws using a screw driver.
By removing the cushions, it will be much easier to paint without fear of the colors cross contaminating. Also, while one section is drying, you can work on the other section.
On the bottom of the seat where are 4 tabs that hold the cushion in place. With a pair of pliers just bend them back so you can remove the seat from the frame.
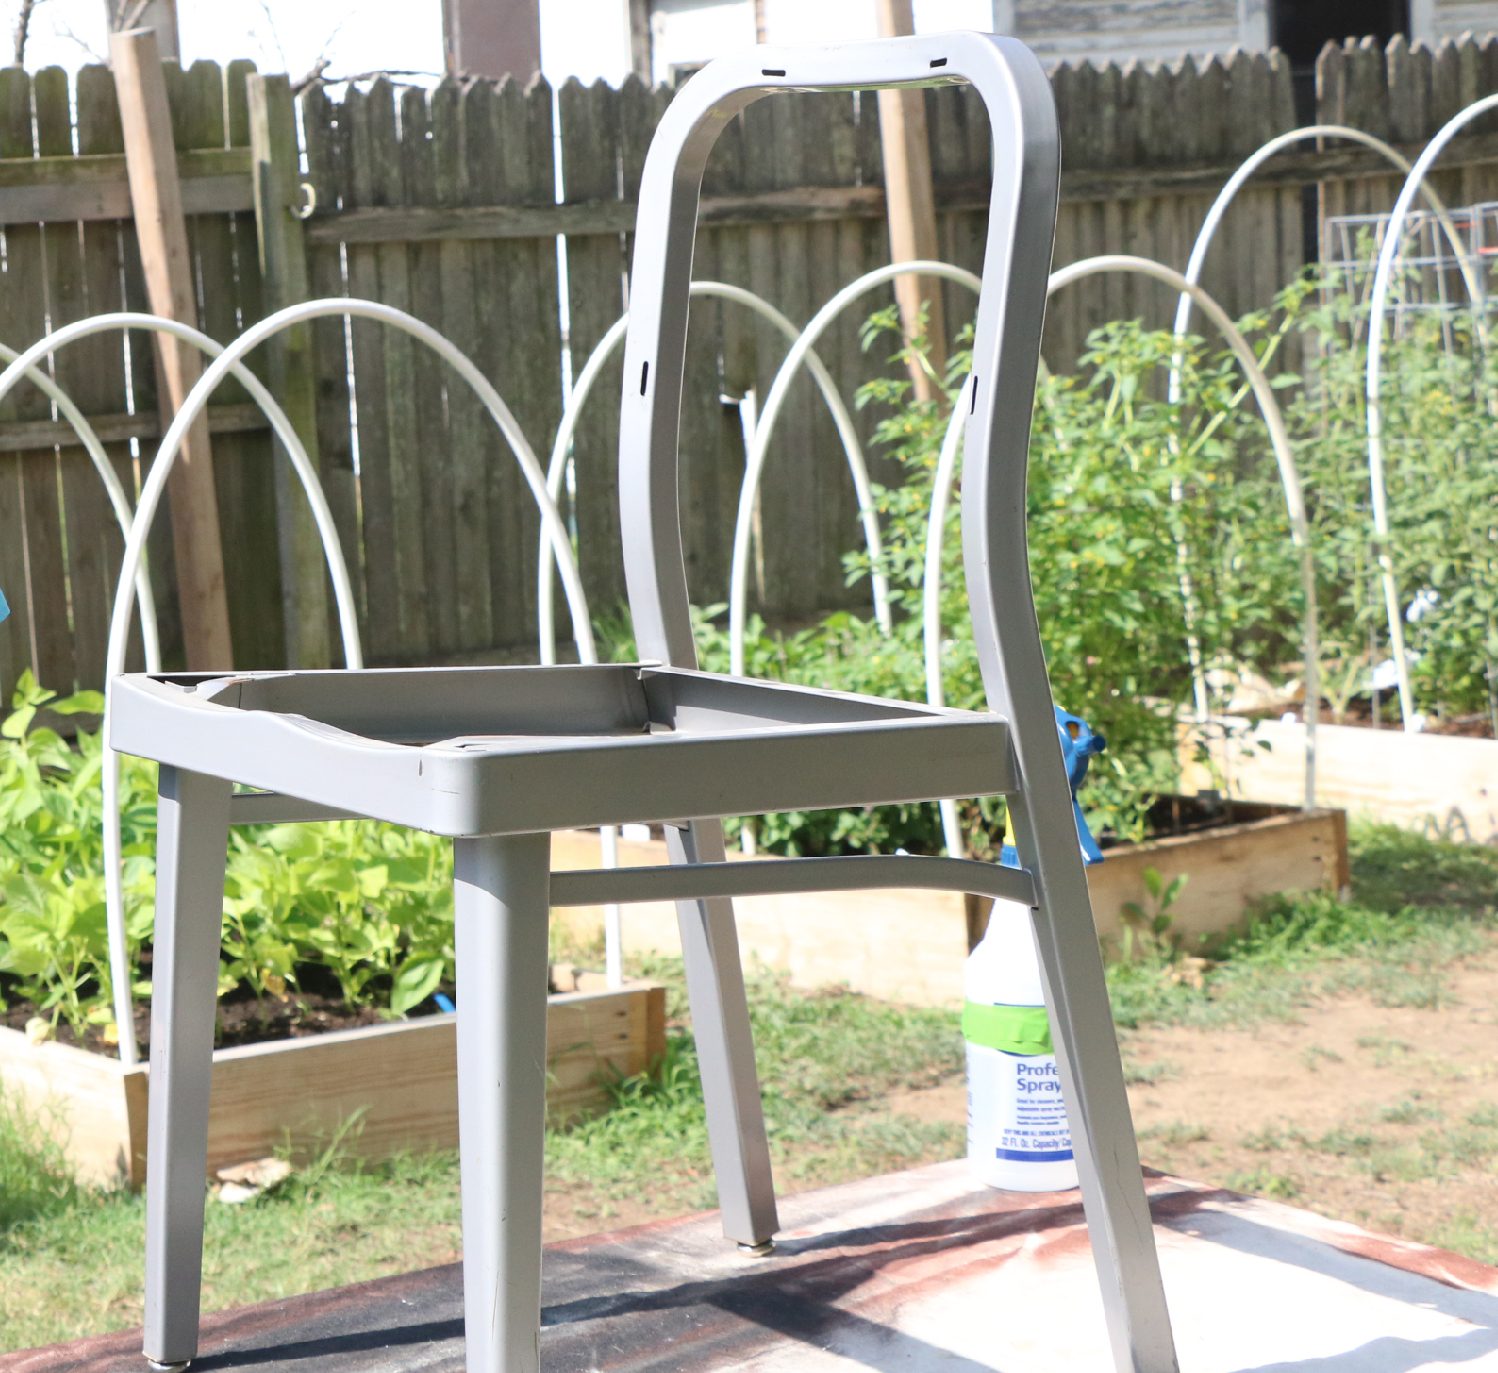
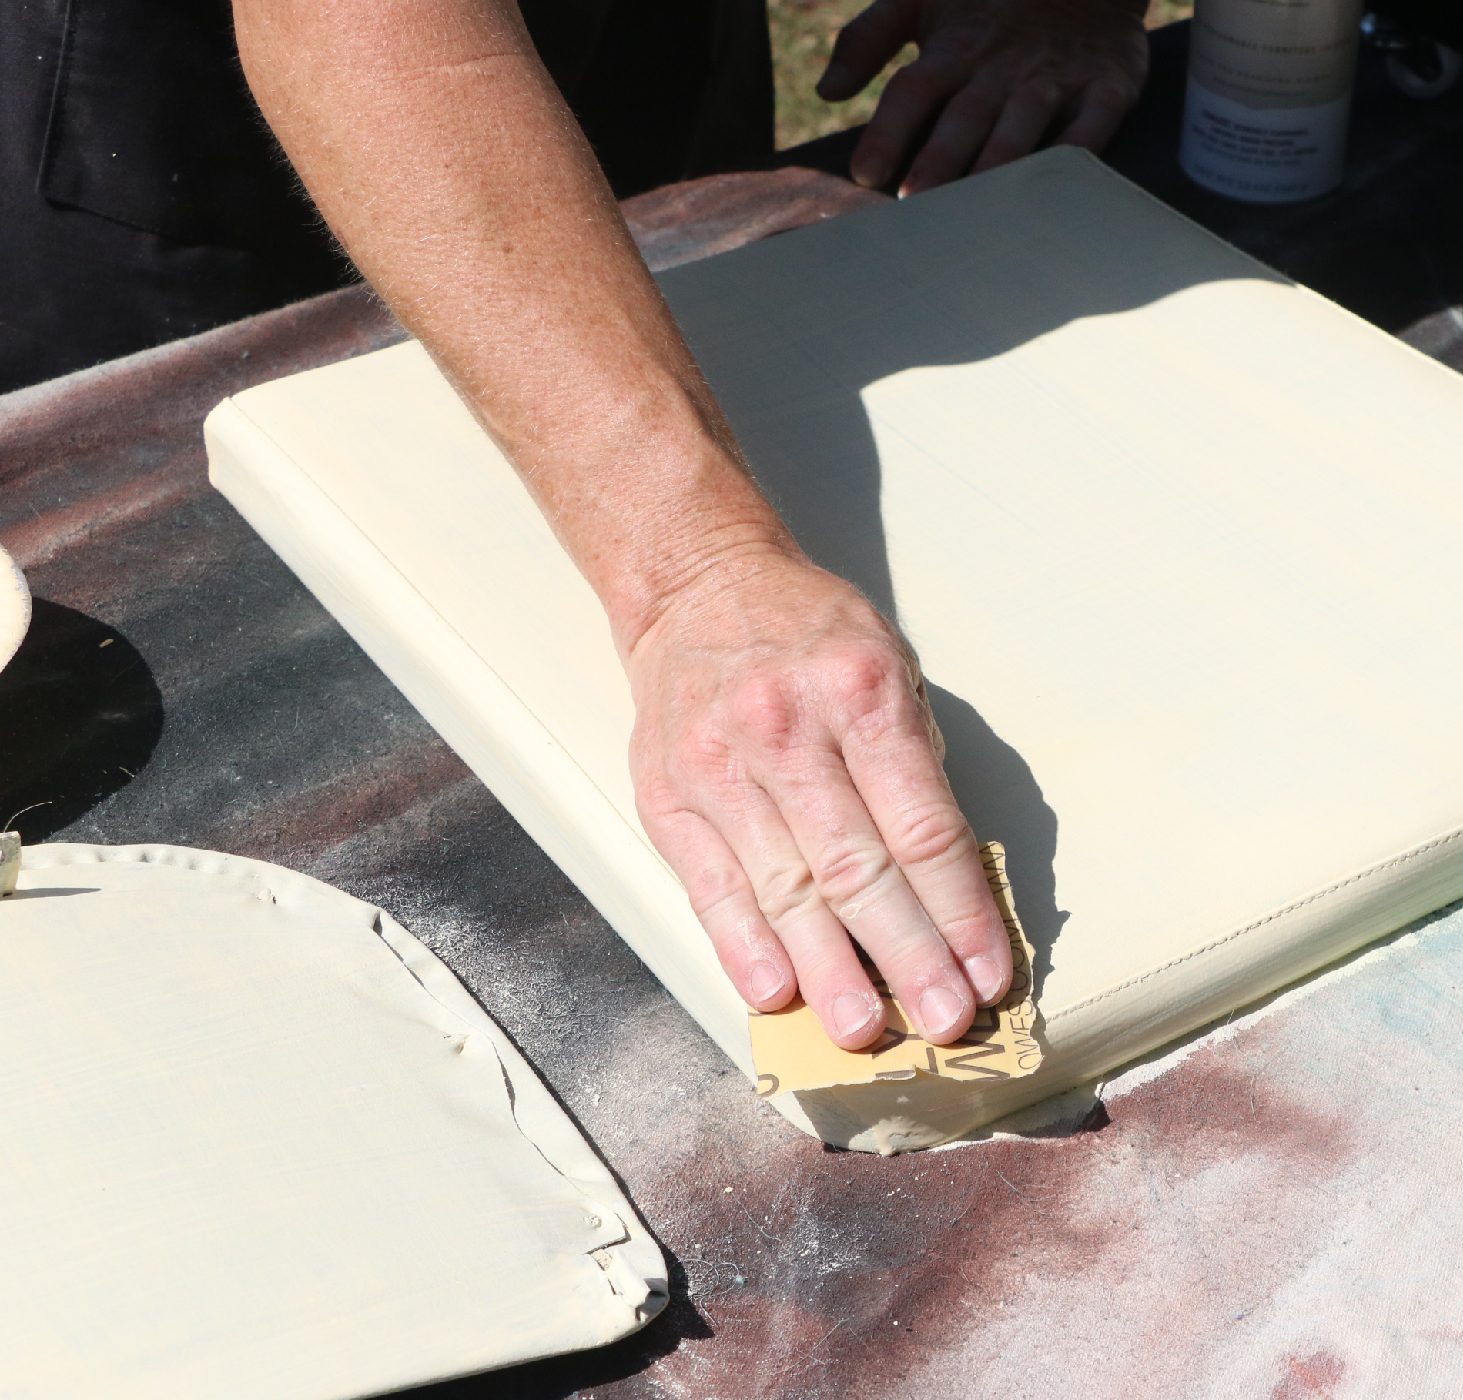
Step 2: Clean
Remove any stickers, sand any scratches or imperfections, so there’s no raised services. Spray the simple green on each of your pieces and then wipe it down. This removes any oils and dirt that will keep your paint from sticking. Spray again with water to remove the surfactants that keep the paint from sticking.
Step 3: Mix
Start with the vinyl cushions. Mix up Amy Howard’s Chalk Based Paint, pour a small amount into a bowl then a small amount of water for about 20 percent of your volume. The water will help thin the paint to prevent it from cracking in the future.
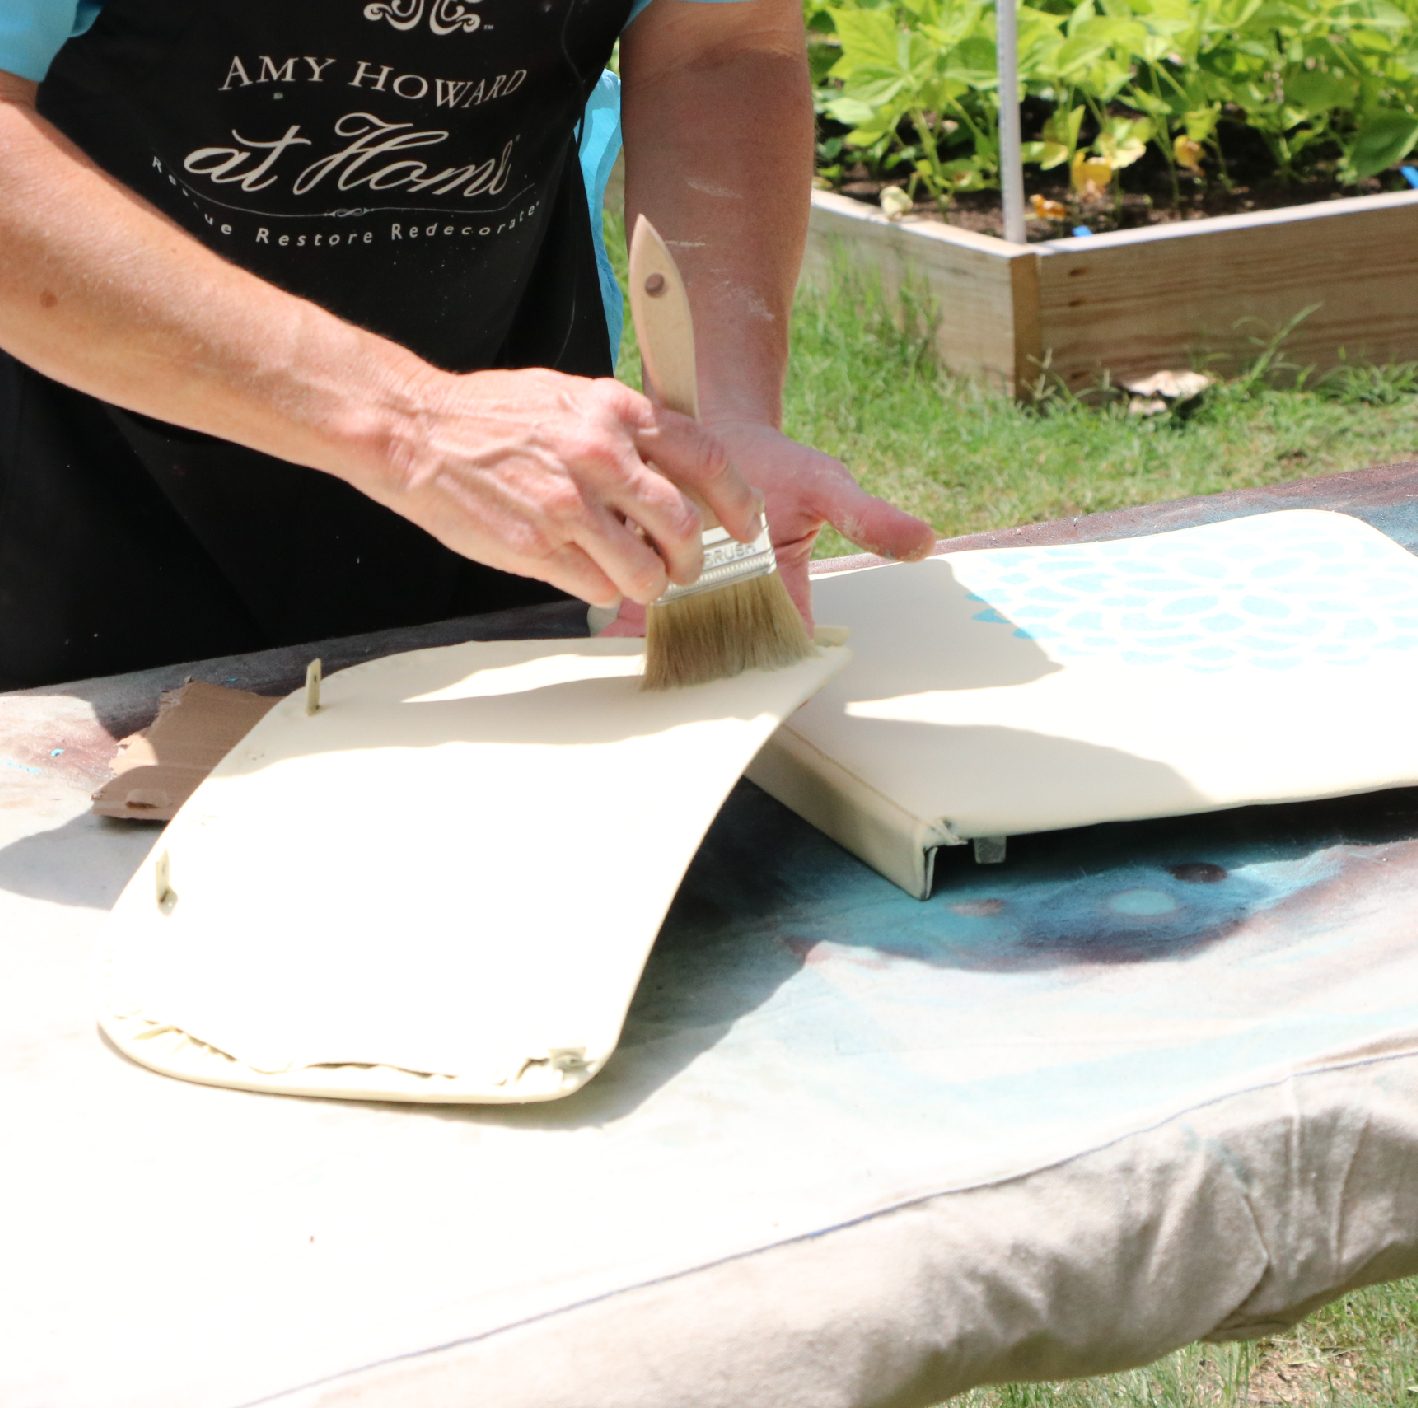
Step 4: Paint in layers
Now, with long, clean strokes start to cover the fabric. You’ll be able to see the color of the chair through the color of the paint, so you’ll need to do multiple layers that go perpendicular to each other. This criss-cross method makes the lines look more like fabric instead of paint. Between each coat, sand lightly with a 320-grit and then wipe off those particles with a lightly wet towel. In the cracks and seams, use a pouncing method to make sure the paints reaches every surface.
Step 5: Paint the base
On the legs, sand with a 320-grit. Wipe off the particles with a damp cloth.
Shake your spray lacquer then start at the top of the chair and work your way down with long clean strokes. Do as many coats as it needs to have even coverage, sand lightly between each layer and wipe with a damp cloth. Then finish it off with a coat of clear lacquer.
Step 6: Make it yours
At this point, you can add the seats back on, but we decided to add a stencil first. Sand the location you’re going to put the stencil. Like you did with the other chalk paint, put a small amount in a bowl, then add about 10 percent in water. It doesn’t need to be quite as thin as your base coat.
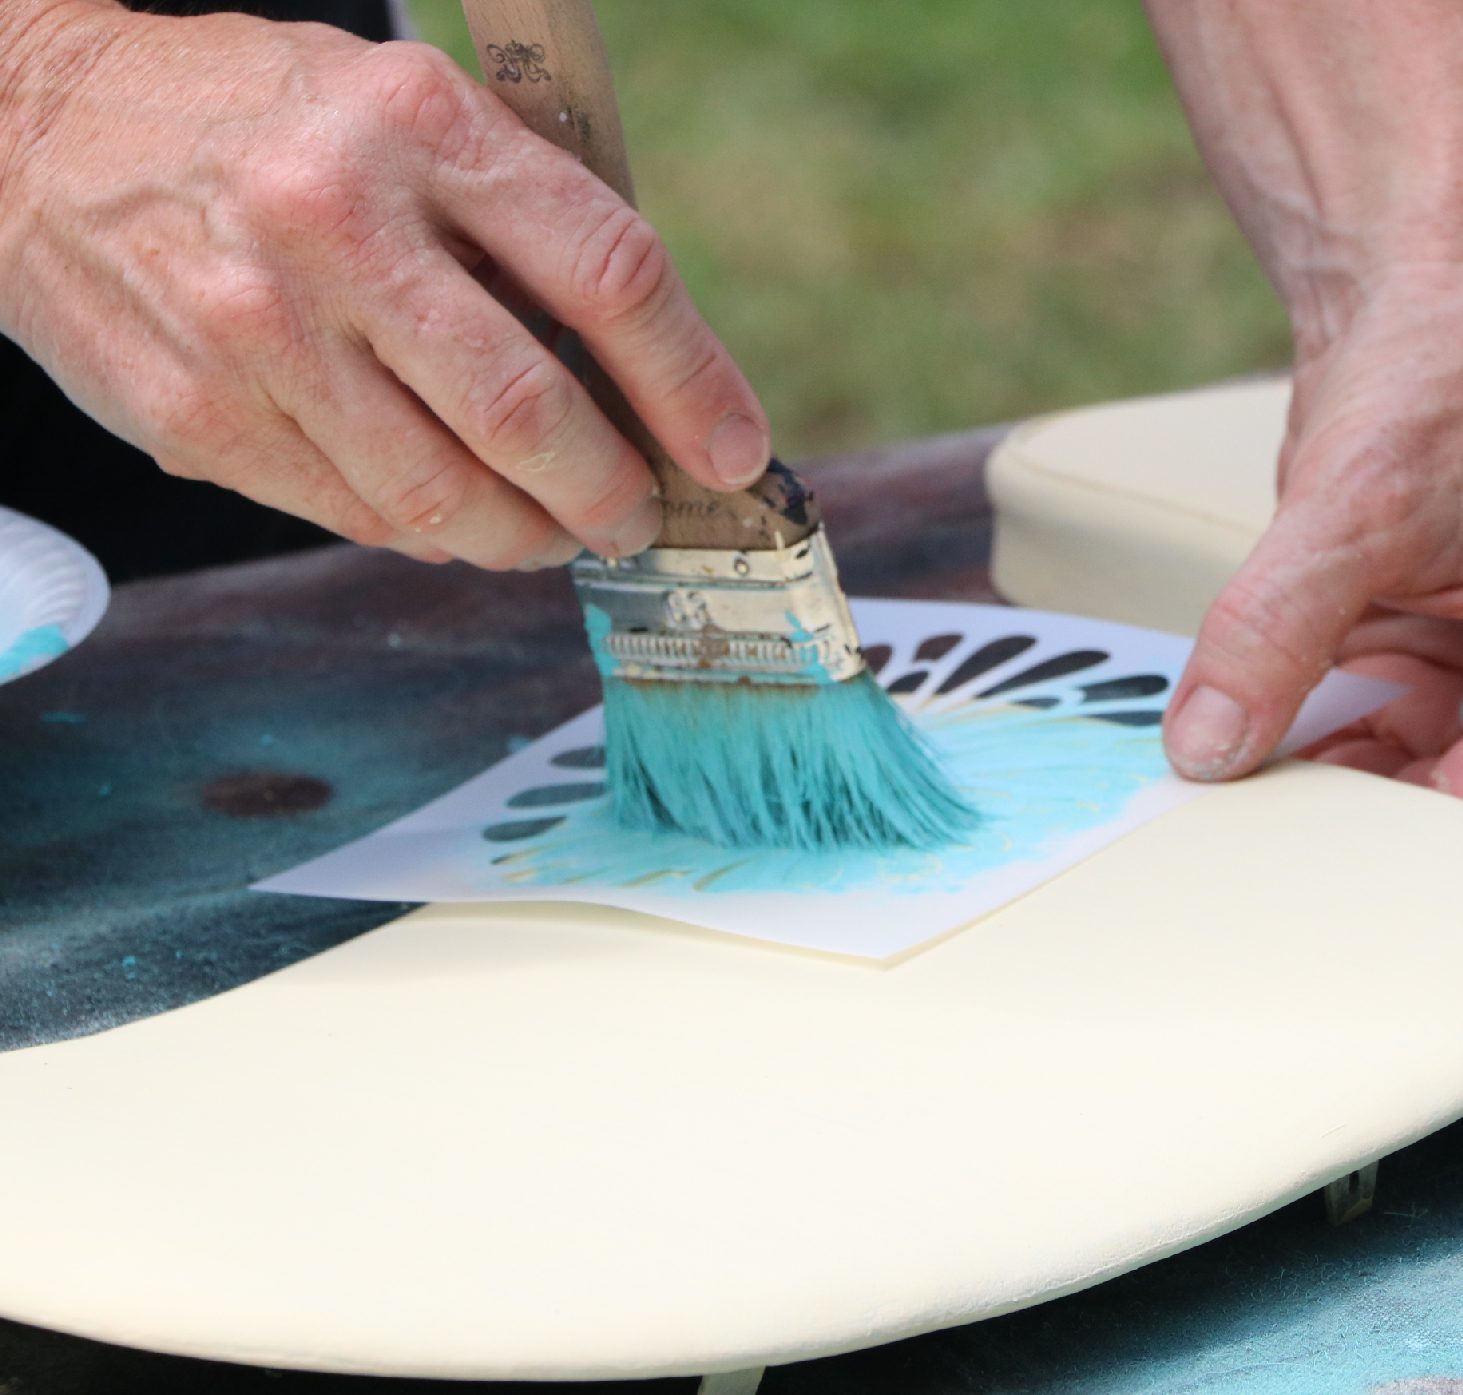
Before painting, unload some of the paint off the brush onto the cardboard. Too much paint and your paint will run under the stencil. Tap the paint onto the stencil.
When chalk paint is dry, it is flat and dull, so to add a bit of shine and protective layer, we put a layer of wax on our chair.
Rub your brush in the wax then offload the wax until it comes off smooth onto a piece of cardboard. This removes any clumps of wax from your brush that could mess up the project.
Step 7: Enjoy your bragging rights!
Last but not least, put your chair back together and now you get to enjoy your bragging rights. Make sure you send us a picture of your latest project to put on our brag wall.
Don’t forget to pin for later!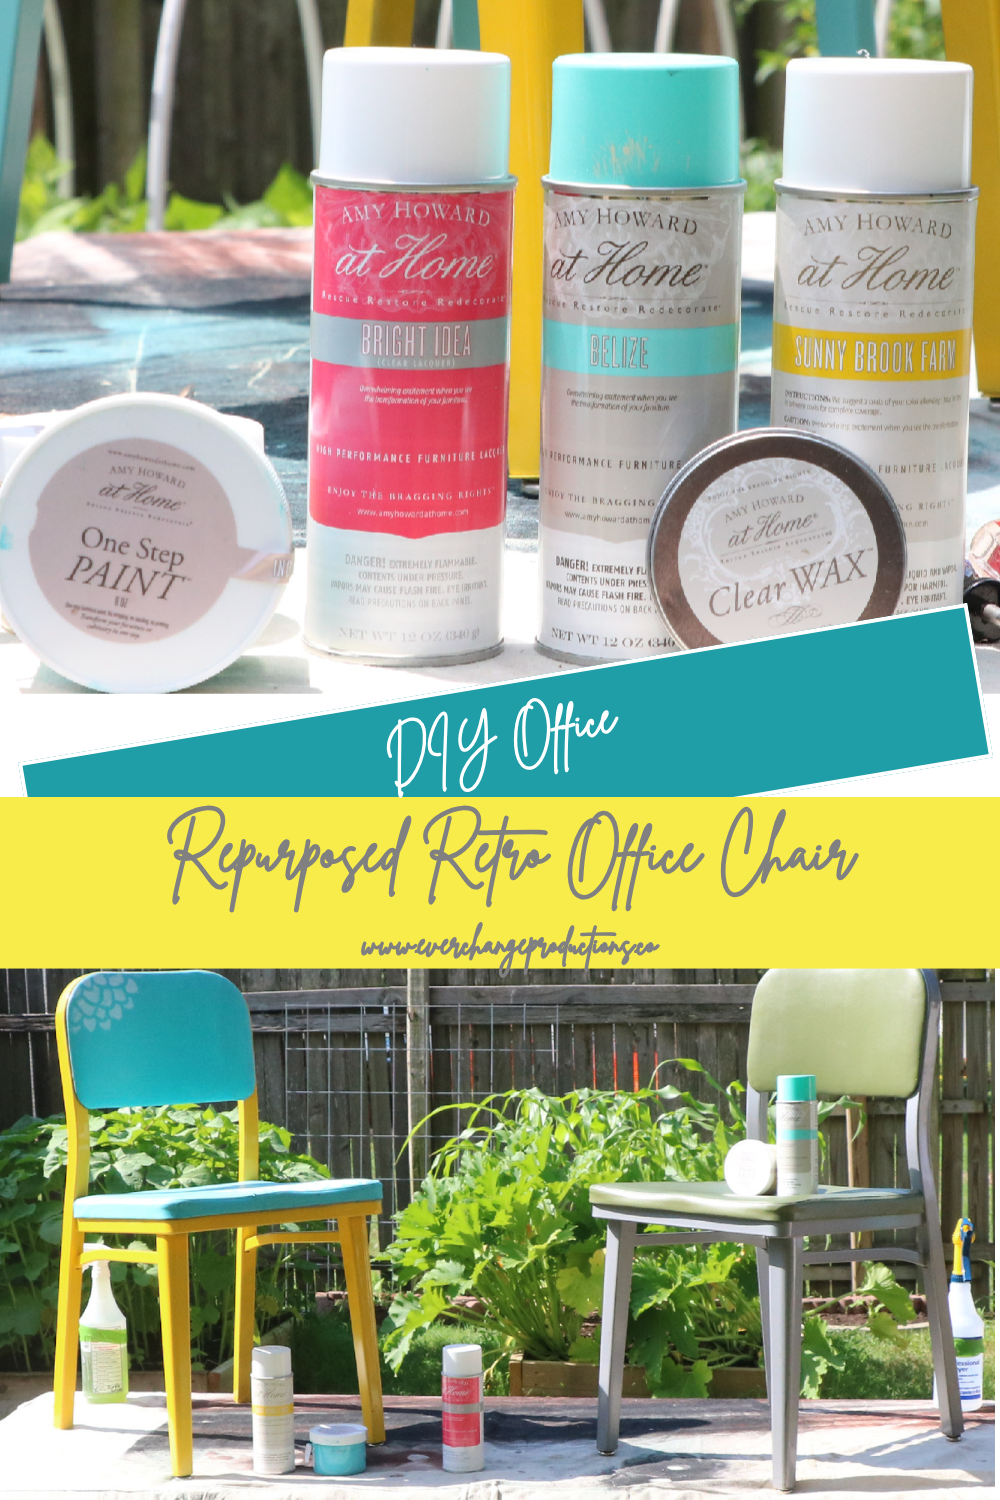
Love the VERY detailed instructions. This is what I need. Congratulations on the new blog. I am following so I don’t miss a thing.
Thanks for joining us Marjie! We hope to have many more details coming soon!
This is so cool. I LOVE the style. Thanks for sharing how to do it.
Of course! We love to show how easy it is, so people with little to no experience in the DIY world can do it at home!
Love how you give a detailed step by step tutorial. Keep on sharing tips like this ..
Will do! Thanks for the support!
Back again!! Still loving this. Can’t wait to see what comes next.
Thanks Marjie!
Super cute update! Thanks for linking up at #SustainableSundays!
Thank you 🙂
I love this tutorial. Thanks for posting on the #WasteLessWednesday Blog Hop. Can’t wait to see what you share this Wednesday!
Thank you! We can’t wait either! It’s going to be good one!
What a wonderful idea! We don’t have any retro chairs around but if we ever find some at a thrift store we’ll have to snag some up and use your tutorial! We do have some plain boring wooden chairs that could use some sprucing up 🙂
Well, the beauty of both the one step paint and the spray lacquer, is that they can’t be used on basically any material, which includes wood. Just pick a color you like, paint and make sure you show up the end results! We love to celebrate!
Oh my gosh, this chair turned out great! It’s so cute!
Thank you!
[…] Repurposed Retro Office Chair […]