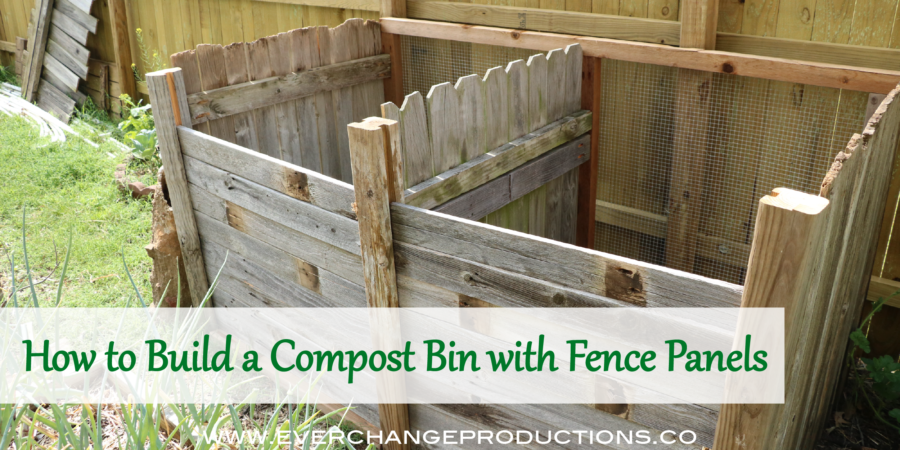
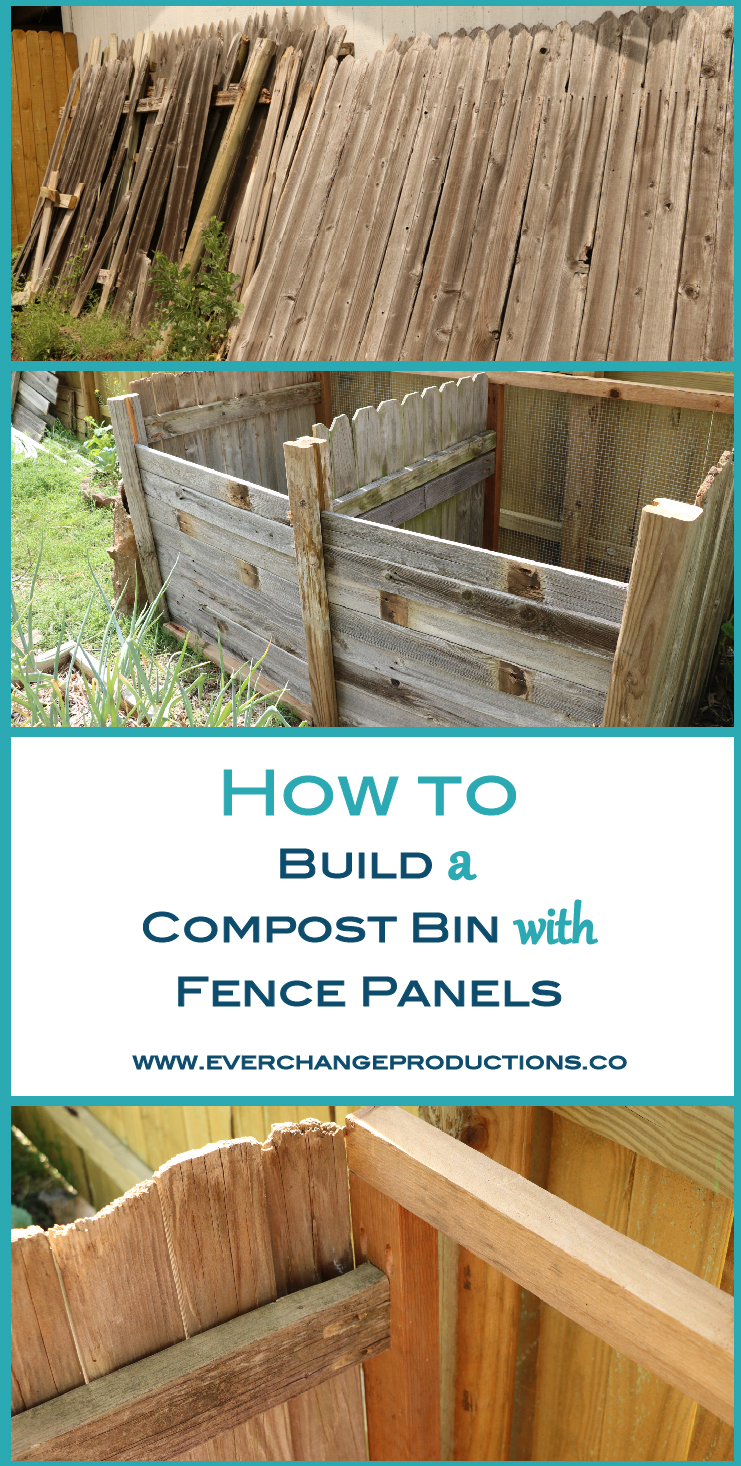
How to Repurpose Fence Panels
Have you ever wanted to build your own composter? This is the first real step to composting. Up until now, you’ve probably studied the benefits of composting, how to compost, compost bin options, what to compost, but now the real fun begins. Today we’ll show you how to reuse fence panels or other scrap lumber you have to make a sturdy compost bin that will last years to come.
This post contains affiliate links. When you purchase through these links, it helps keep my blog running at no additional cost to you. Please read my privacy policy and cookie policy for more information.
Since I moved out on my own, building a compost bin has been my dream. I started in an apartment and quickly realized that dream might not happen for quite some time. However, I found the joy of vermicomposting and was quite satisfied. But now I live in a rental house and was granted an opportunity to learn a new method of composting.
Interested in composting, but don’t know where to start? Subscribe for access to a free quiz and find the best composting option for you.
What you need to know before you build your own composter
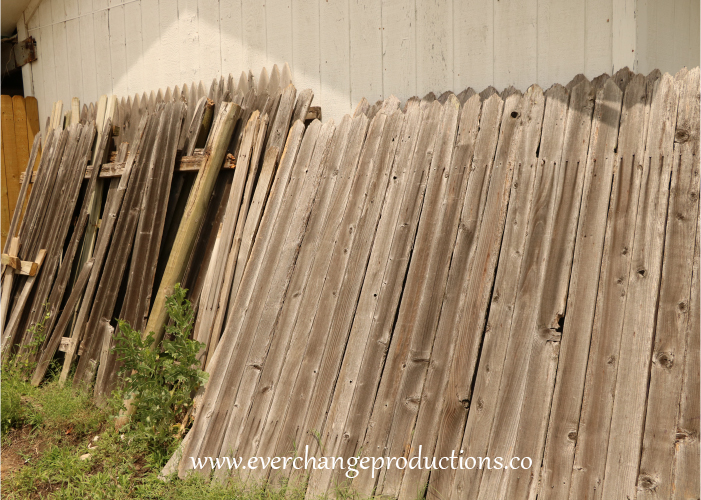
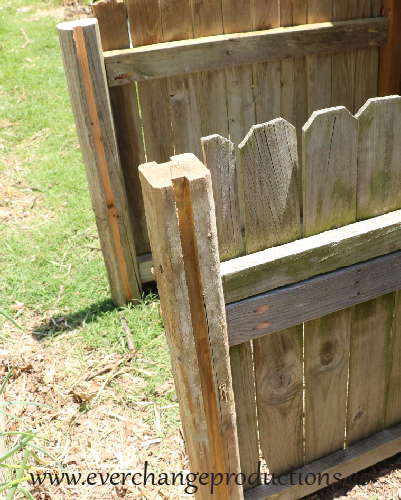
Our privacy fence started falling over, so when we replaced it, we kept the best parts of the fence for our compost bin. You should use the scrap wood or pallets you have access to.
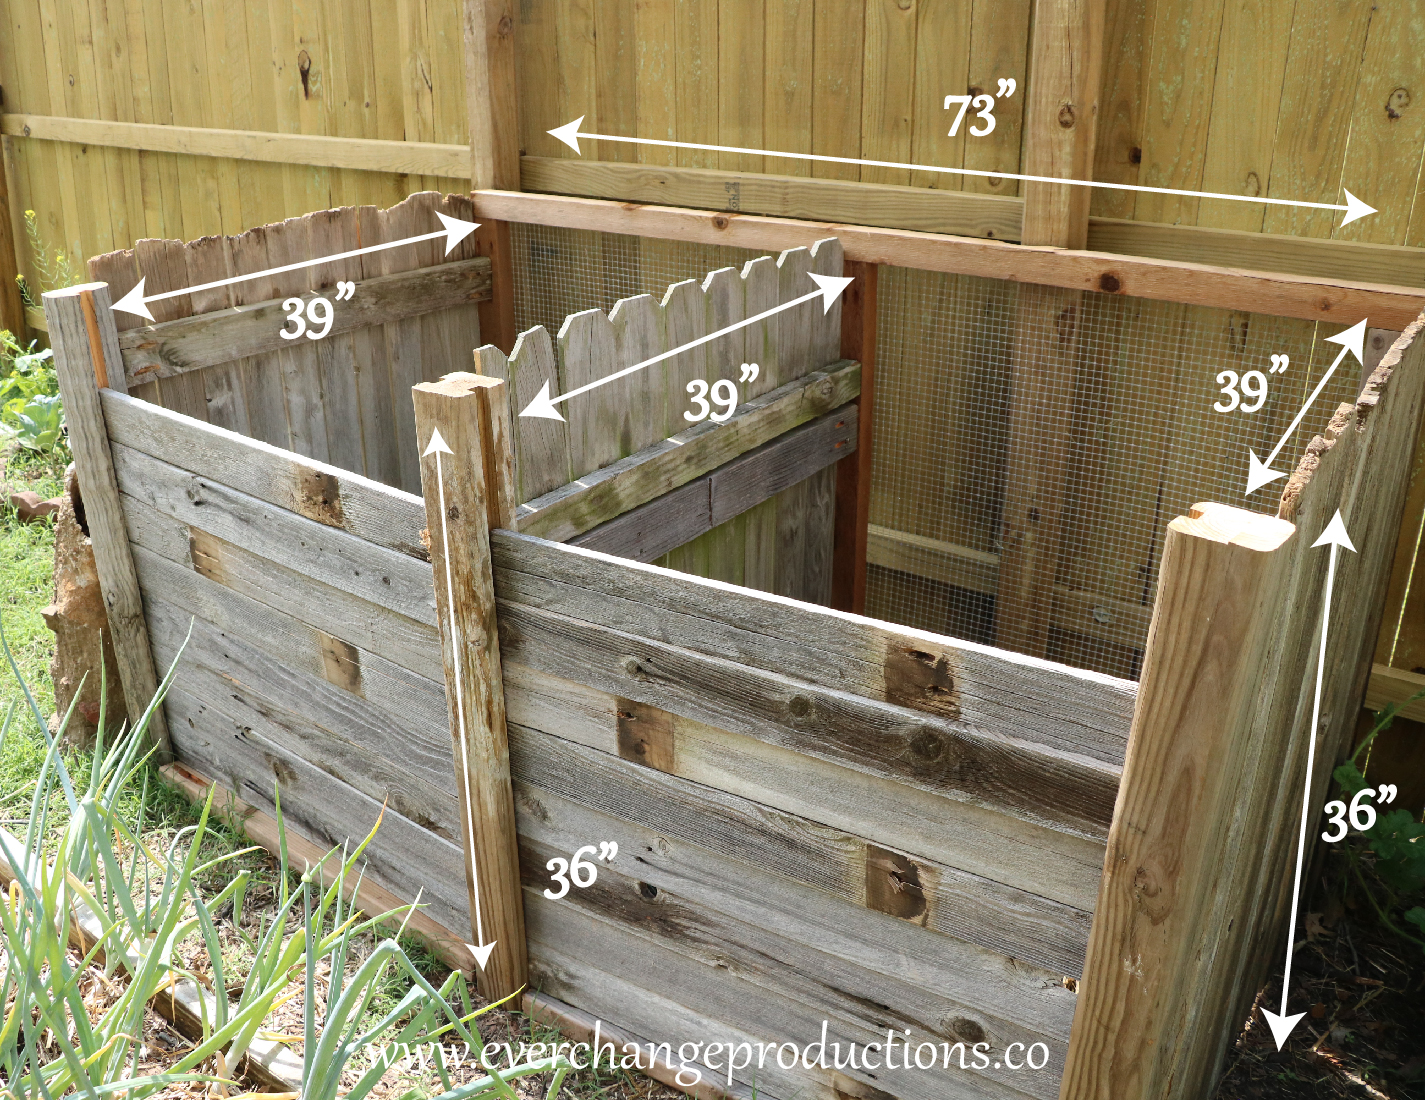
First things first, gather all the materials you need to build your own composter. The optimal size for a compost bin is 3 feet wide x 3 feet long x 3 feet high. We made a 2 bin system, so we used twice that with 3 foot separation panel and the back panel was about 6 feet long.
Materials needed:
Saw
Drill
Kreg Pocket Hole System (K4 or R3)
Rotary Saw
Step 1 – Cut the wood to size
Whether you use fence panels, scraps of wood or pallets, the panels needs to be at least 36 inches- ours turned out to be 39. You’ll need an additional panel about 3 feet tall x 3 feet wide x 6 feet long for the back. You’ll also need at least 3 square posts and 3 2 x 4s to use as a brace in the corner.
The front/sides:
3 36″ tall corner posts
3 39″ wide fence panels
2 2x4s
The back:
5 36″ 2 x 4s
1 73″ 1 x 4s
About 12-14 34″ individual fence pieces for the slats on the front. Once you put the rest of the compost bin together, measure from post to post to see exactly the length needed.
Here is a picture of where we put which pieces where:
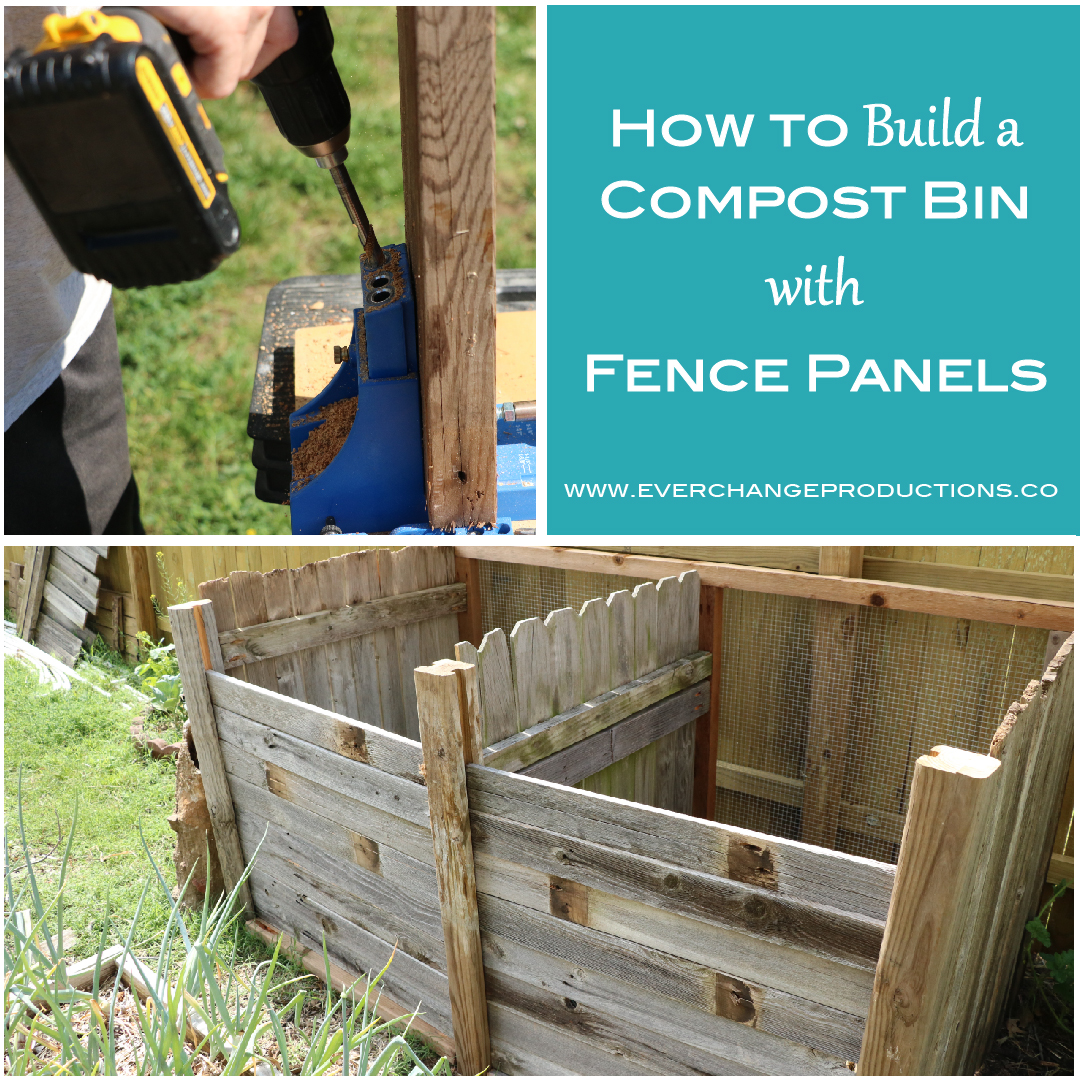
Step 2 – Drill Pocket Holes
Now you’re ready to start building your own composter. Use your kreg pocket system and drill two pocket holes at both ends of the top and bottom fence rails. This is easier to do when the panel is laying flat on the ground or table. Repeat this process for the 3 panels and the pieces that will hold the screen in the back. Pocket holds allow you to create a stronger joint for the two pieces.
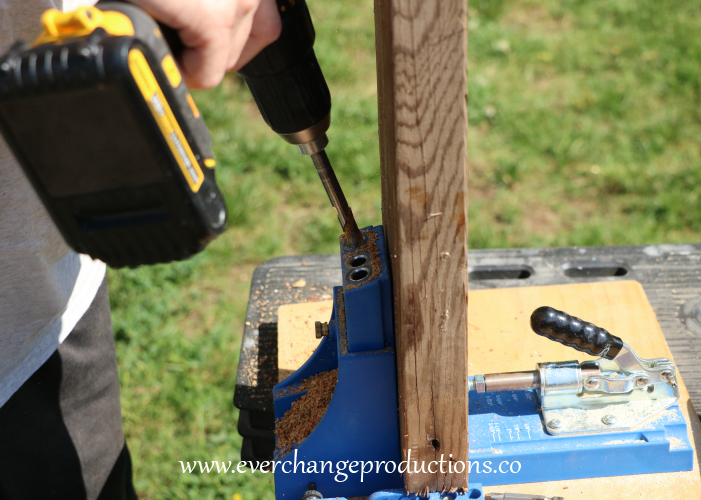
Watch the video below to learn more about using a kreg jig.
Step 3- Start building the compost bin
We started with the back panel, using pocket holes, we screwed in the 36 inch 2 x4 boards to the top 73 inch piece, as shown in the diagram. Then we connected the bottom 36″ pieces to the divider board and 2 x 4s to complete the frame.
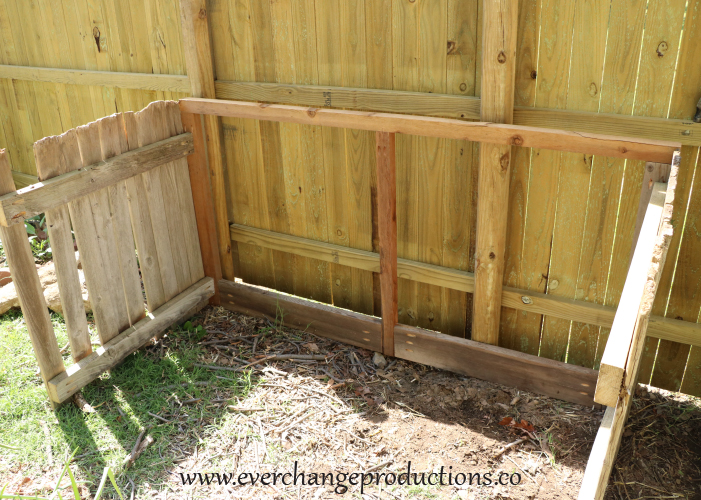
Step 4- Attach Wire Mesh
Using a staple gun, you can attach the wire mesh to the outside of the back panel.
Step 5- Attach the side panels
Next, using our pocket holes, we screwed the far left panel’s inside corner to the back panel. We repeated this process on the top and bottom fence rails. We continued onto the right fence panel, then again with the divider fence panel. Once we had our panels attached, we were ready to build the front our compost bin.
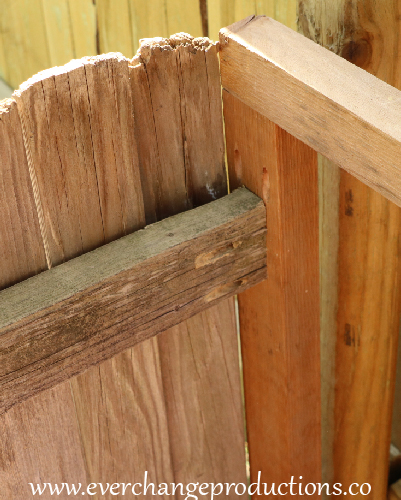
Step 6- Make grooves in corner posts
Using the rotary saw, we cut a 3/4 inch deep groove (1 inch wide or slightly wider than your slats) down the middle of corner posts. Place the groove inward at the end of your fence panel. Using the pocket holes, screw the fence panels into the corner posts.
If you feel it isn’t sturdy enough, we also used 1 2 x 4 on each side to anchor it on the bottom with 2 pocket holes in the right and left side to drill into the corner posts.
Additional option
If you don’t have a rotary tool, you can make two rows of nails wide enough for the slats to fit through. You’ll need about two nails per board to hold it in place.
Step 7- Cut remaining boards
Cut enough slats (12-14) down to size to finish the front of your compost bin.
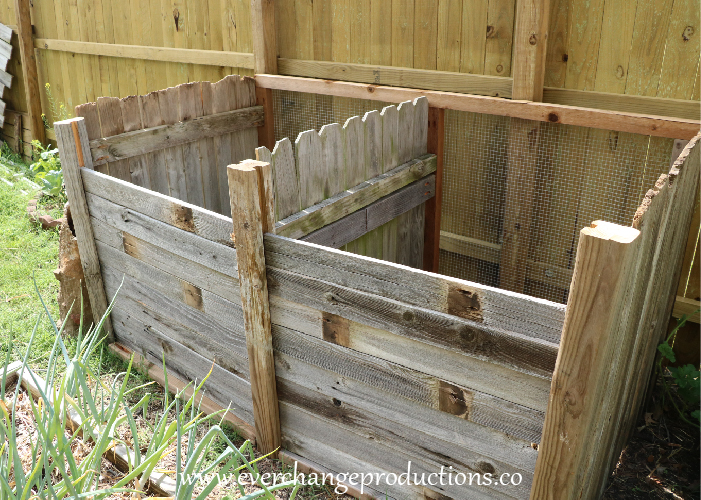
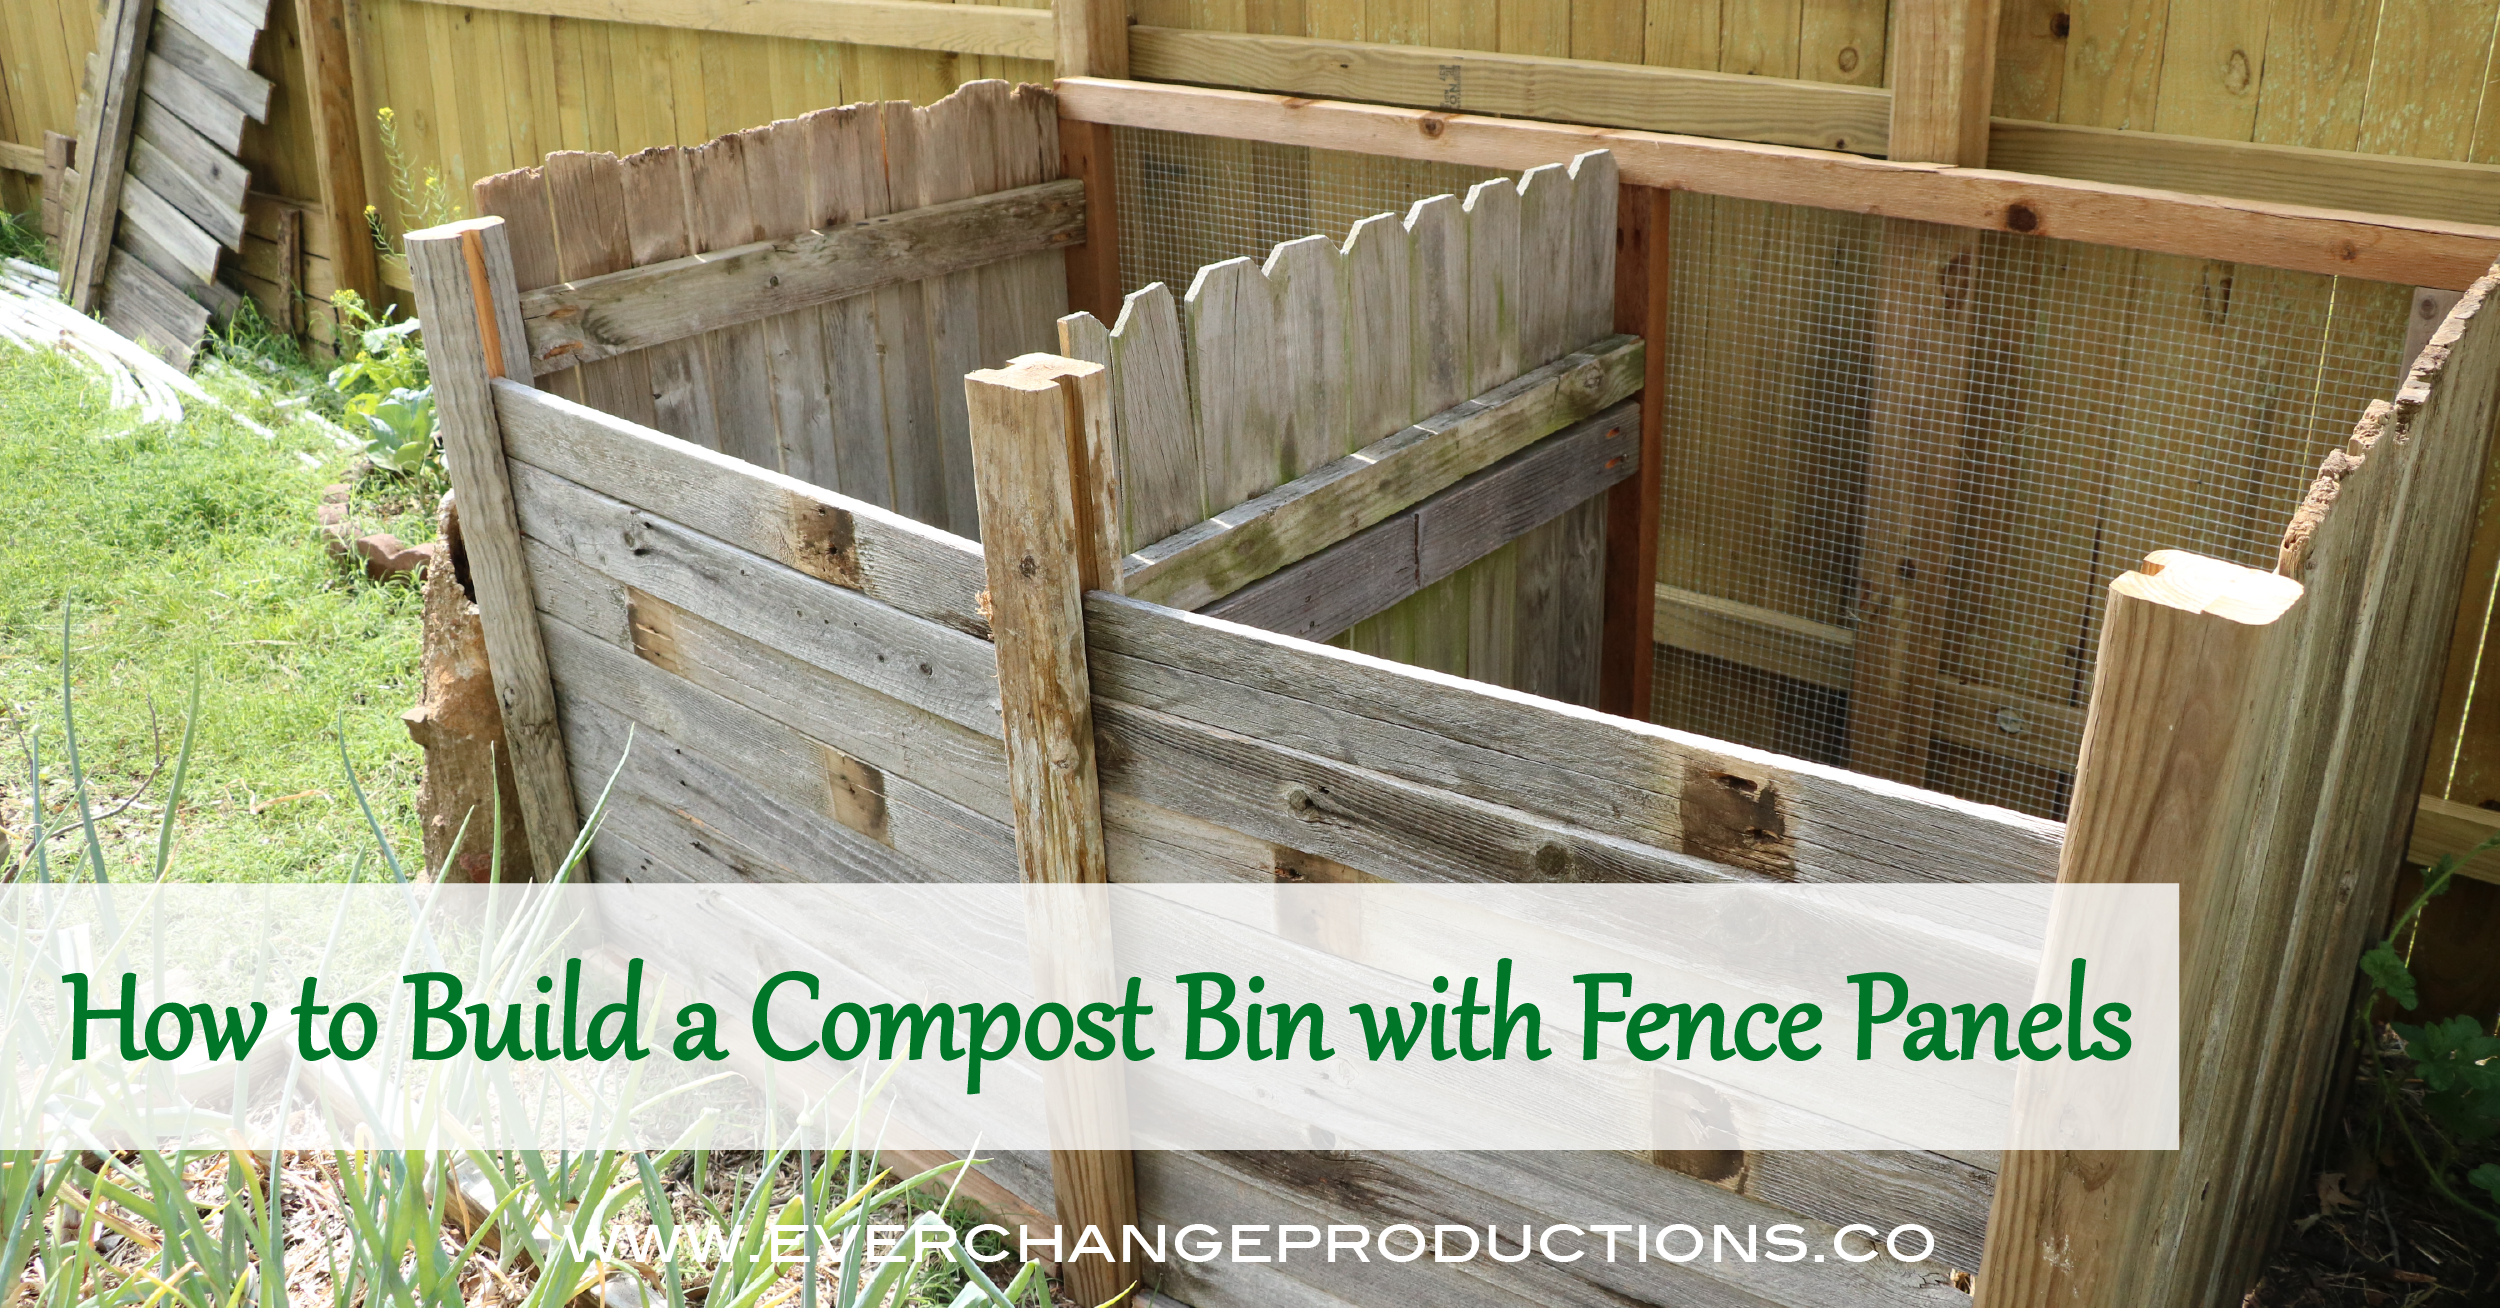
Completed Compost Bin
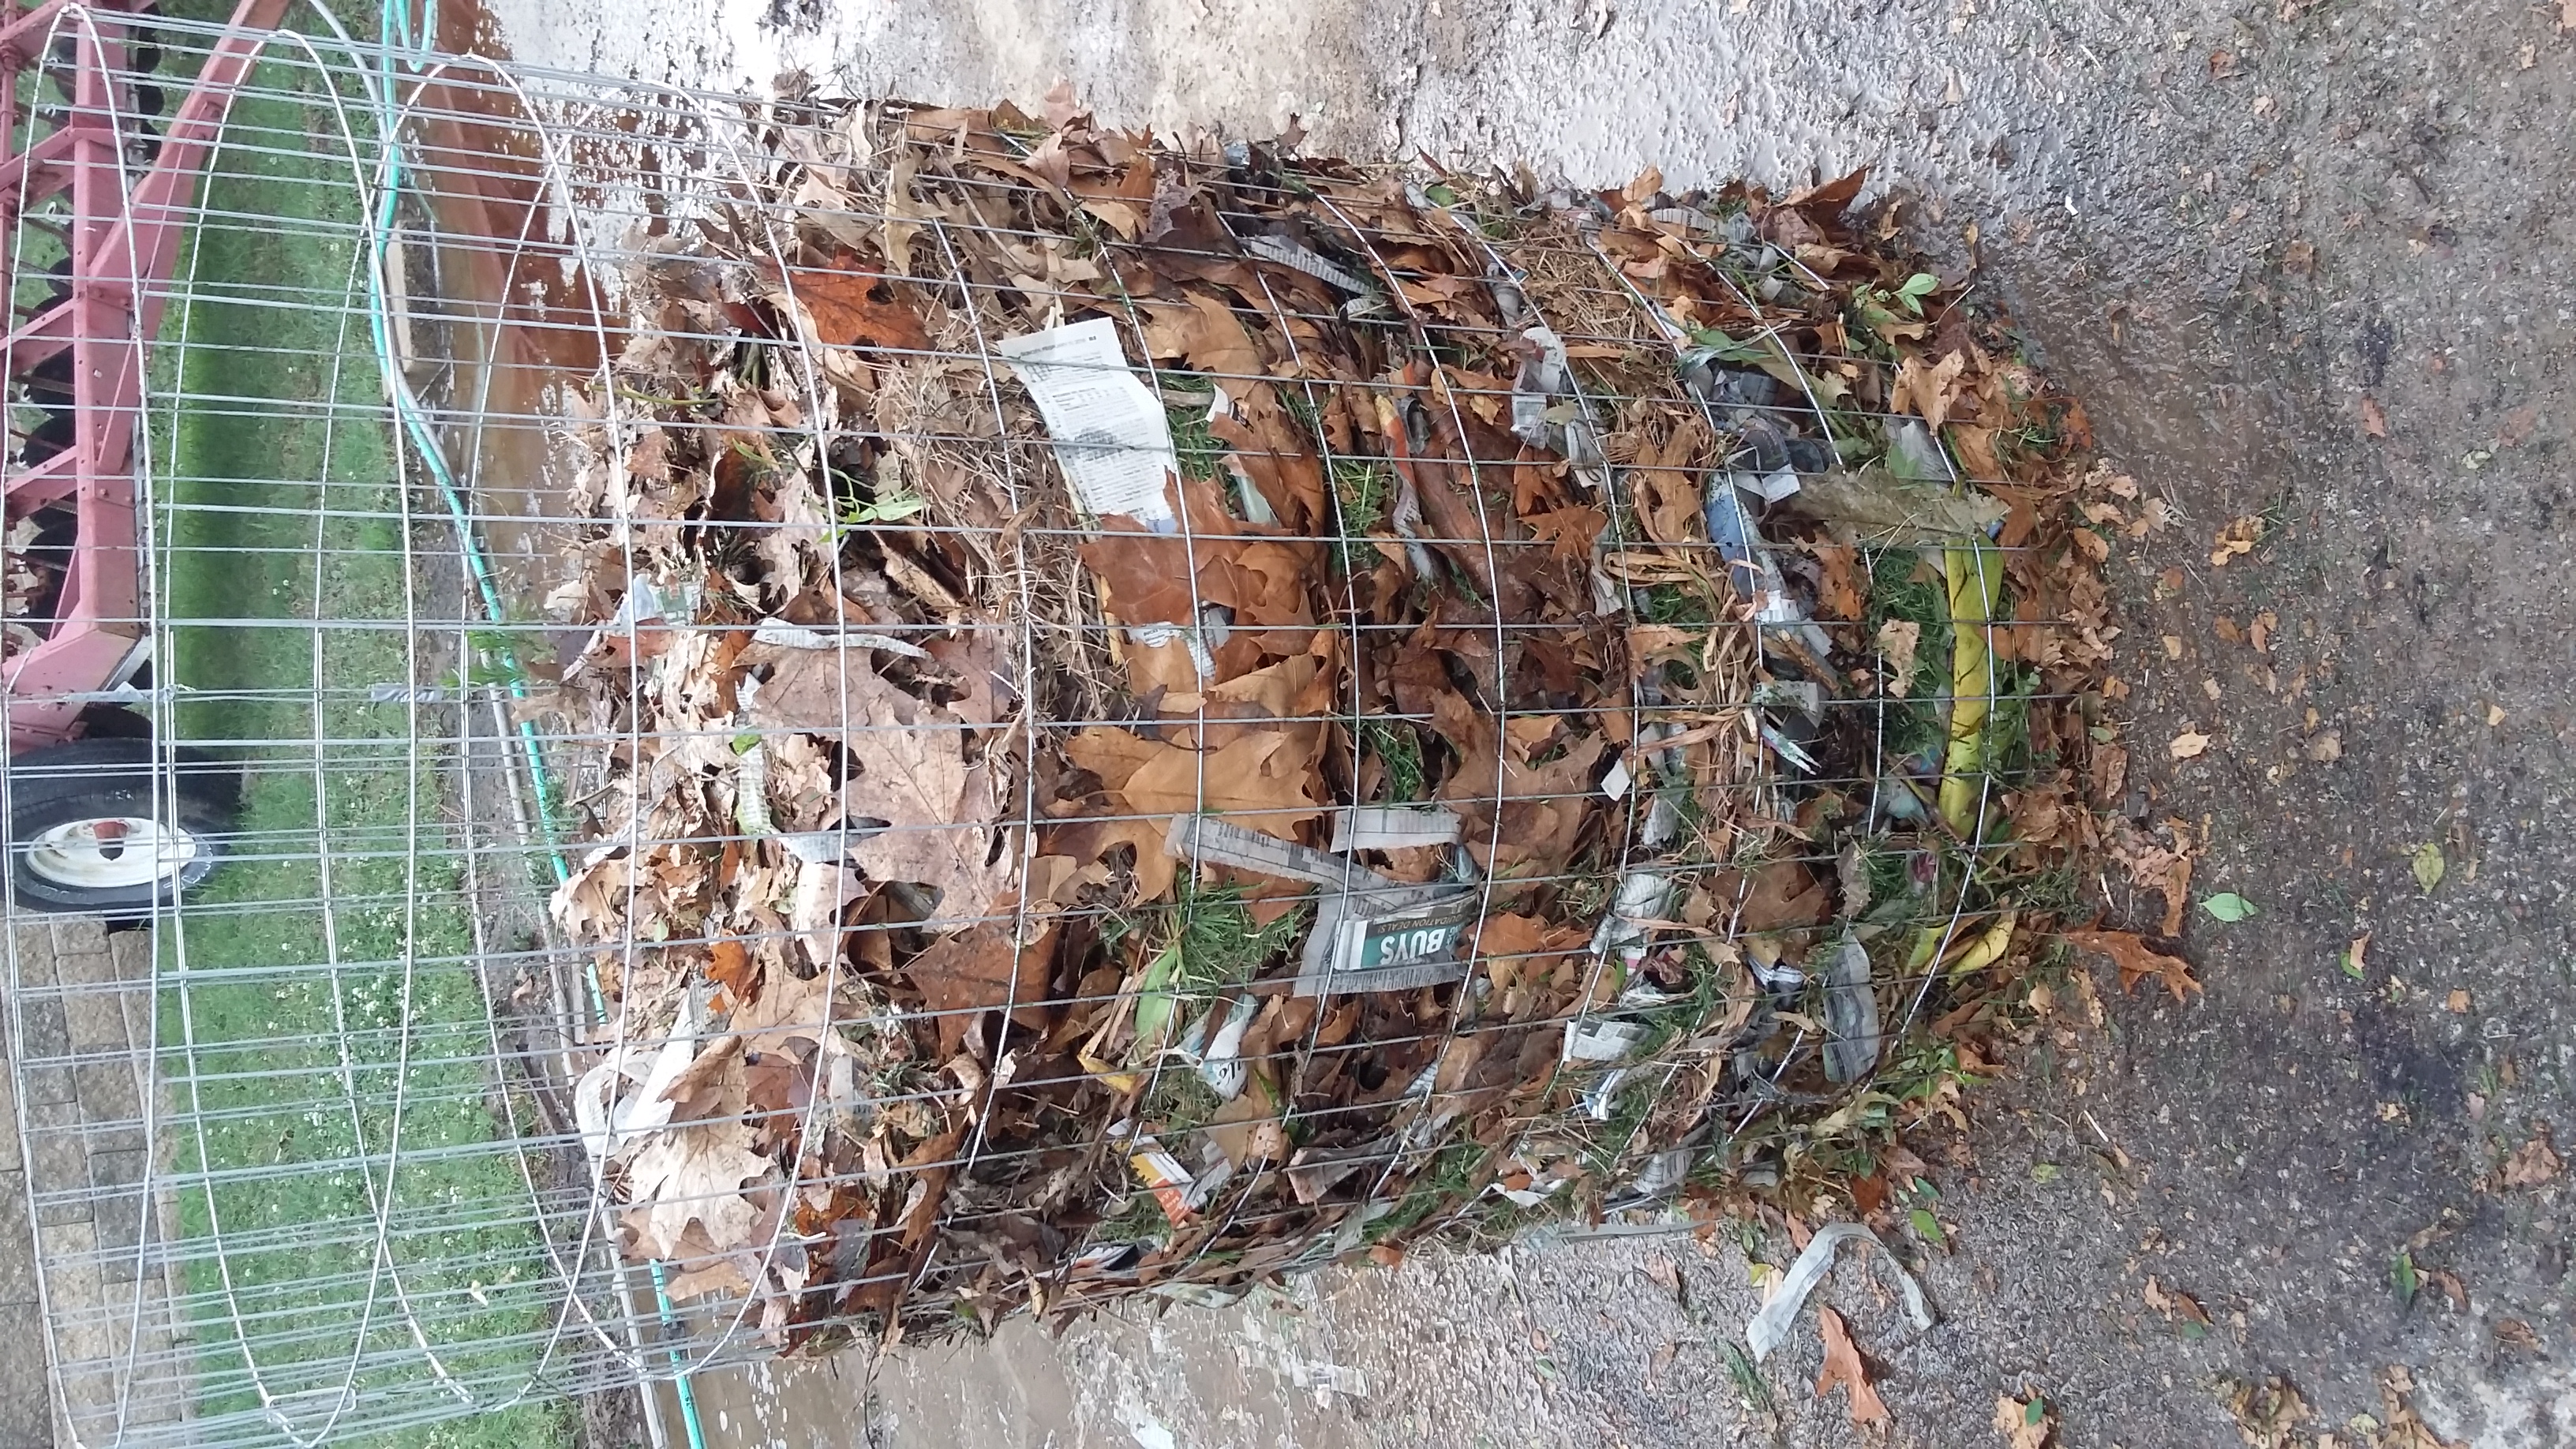
I’ll admit, without the help of my family, this kind of compost bin probably wouldn’t be possible. I have zero building skills and no money to put toward tools. But it doesn’t have to be difficult to build your own composter. If that’s the case for you, please don’t feel overwhelmed. Recently, I took a Master Composter‘s class and at the end of our class, we used garden fence wire to create a compost bin structure. Ideally, it should be 3 feet wide, but we made ours smaller because of time. We used duct tape to hold the ends together, but you could use zip ties, or something you have around the house.
Just FYI, you’re looking at an award winning recipe. You can learn more about our compost materials here.
Feel free to comment any questions and check out more ways to repurpose in the garden with these fairy garden ideas!
Don’t forget to pin this information for later!
This composter is awesome! I love how it looks, how sturdy it is and what you do with it. So cool. These instructions seem doable even for me!
Hi there,
I have a few questions re: building my own compost bin. First, how much sun does this require? I have a small urban garden that has a corner that is ideal for a compost bin, but it receives only part sun, maybe even less than 2 hours/day. Is this enough?
Secondly, a concrete wall would be the back of this. Is it OK?
Isn’t it easier to be able to access the materials from the front, like a front-loading washer? Rather than trying to reach in and turn this with a pitchfork, which is not that easy.
Thank you,
Nichole
Hello Nichole, thanks for reaching out! I don’t think a space with limited sun or next to concrete would be a problem. Secondly, this design provides an accessible front because the slats are removable, but I would caution that turning from the front might cause the materials to spill out, so it’s best to turn with just a few slats removed or from the top. Thanks for reading and Happy New Year!
[…] Next, you’ll need to get your container. You can buy composters that are premade or build your own. You can even build a composter out of scrap wood. […]